“Shucking” refers to removing the drives from external HDDs, because often it’s cheaper than buying the drive directly. This allows for cheaper NAS builds. There’s a whole subreddit pretty much about this, r/DataHoarder (of course there is).
It works especially well with 8TB drives, because currently there’s only one way to make them (except for shingled magnetic recording (SMR) drives, which should be avoided at all costs for the purpose of using the drive in a NAS).
Step 1: Buy
I’ll offer no guidance on this, but it isn’t too tricky. You can get some insane deals near US holidays. Europeans are probably out of luck, but don’t worry, it isn’t worth giving up humane healthcare and basic human rights for cheap HDDs. Could be worse, could be Australia.
Step 2: Check
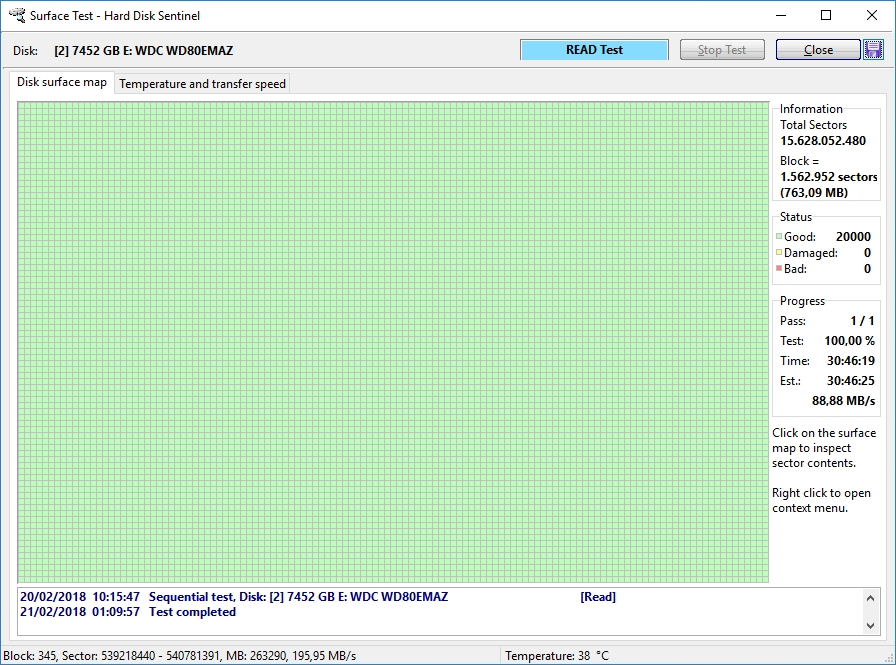
Checking the drives before taking them apart means you can more easily send them back. Drives have issues all the time, don’t skip this.
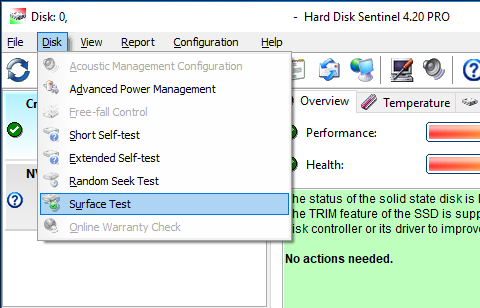
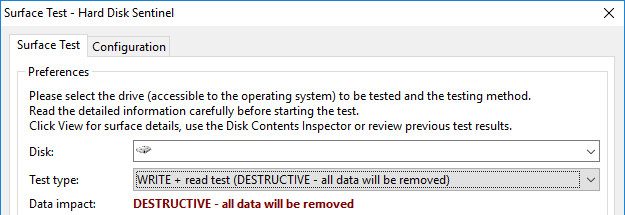
I use Hard Disk Sentinel, because my PC is convenient to run it on, and it’s backed up. There are utilities for BSD and Linux to do surface scans, but the write + read test is destructive, and I’m too scared to run it using my NAS.
Don’t be a muppet about this. These tools can and will erase whole disks. Triple check the disk name/ID. This is why I run them using a PC that I can easily restore. If in doubt, stop.
The whole process will take over 30h for 8TB. I find the Easystore disks run quite hot, so I usually have a fan to force air into them.
Step 3: Shuck
The outer shell has tabs connecting it to the inner part. There are four tabs, two on each side. By inserting a credit card or similar between the outer shell and inner inner, a small catch is lifted and the outer shell can be pried off.
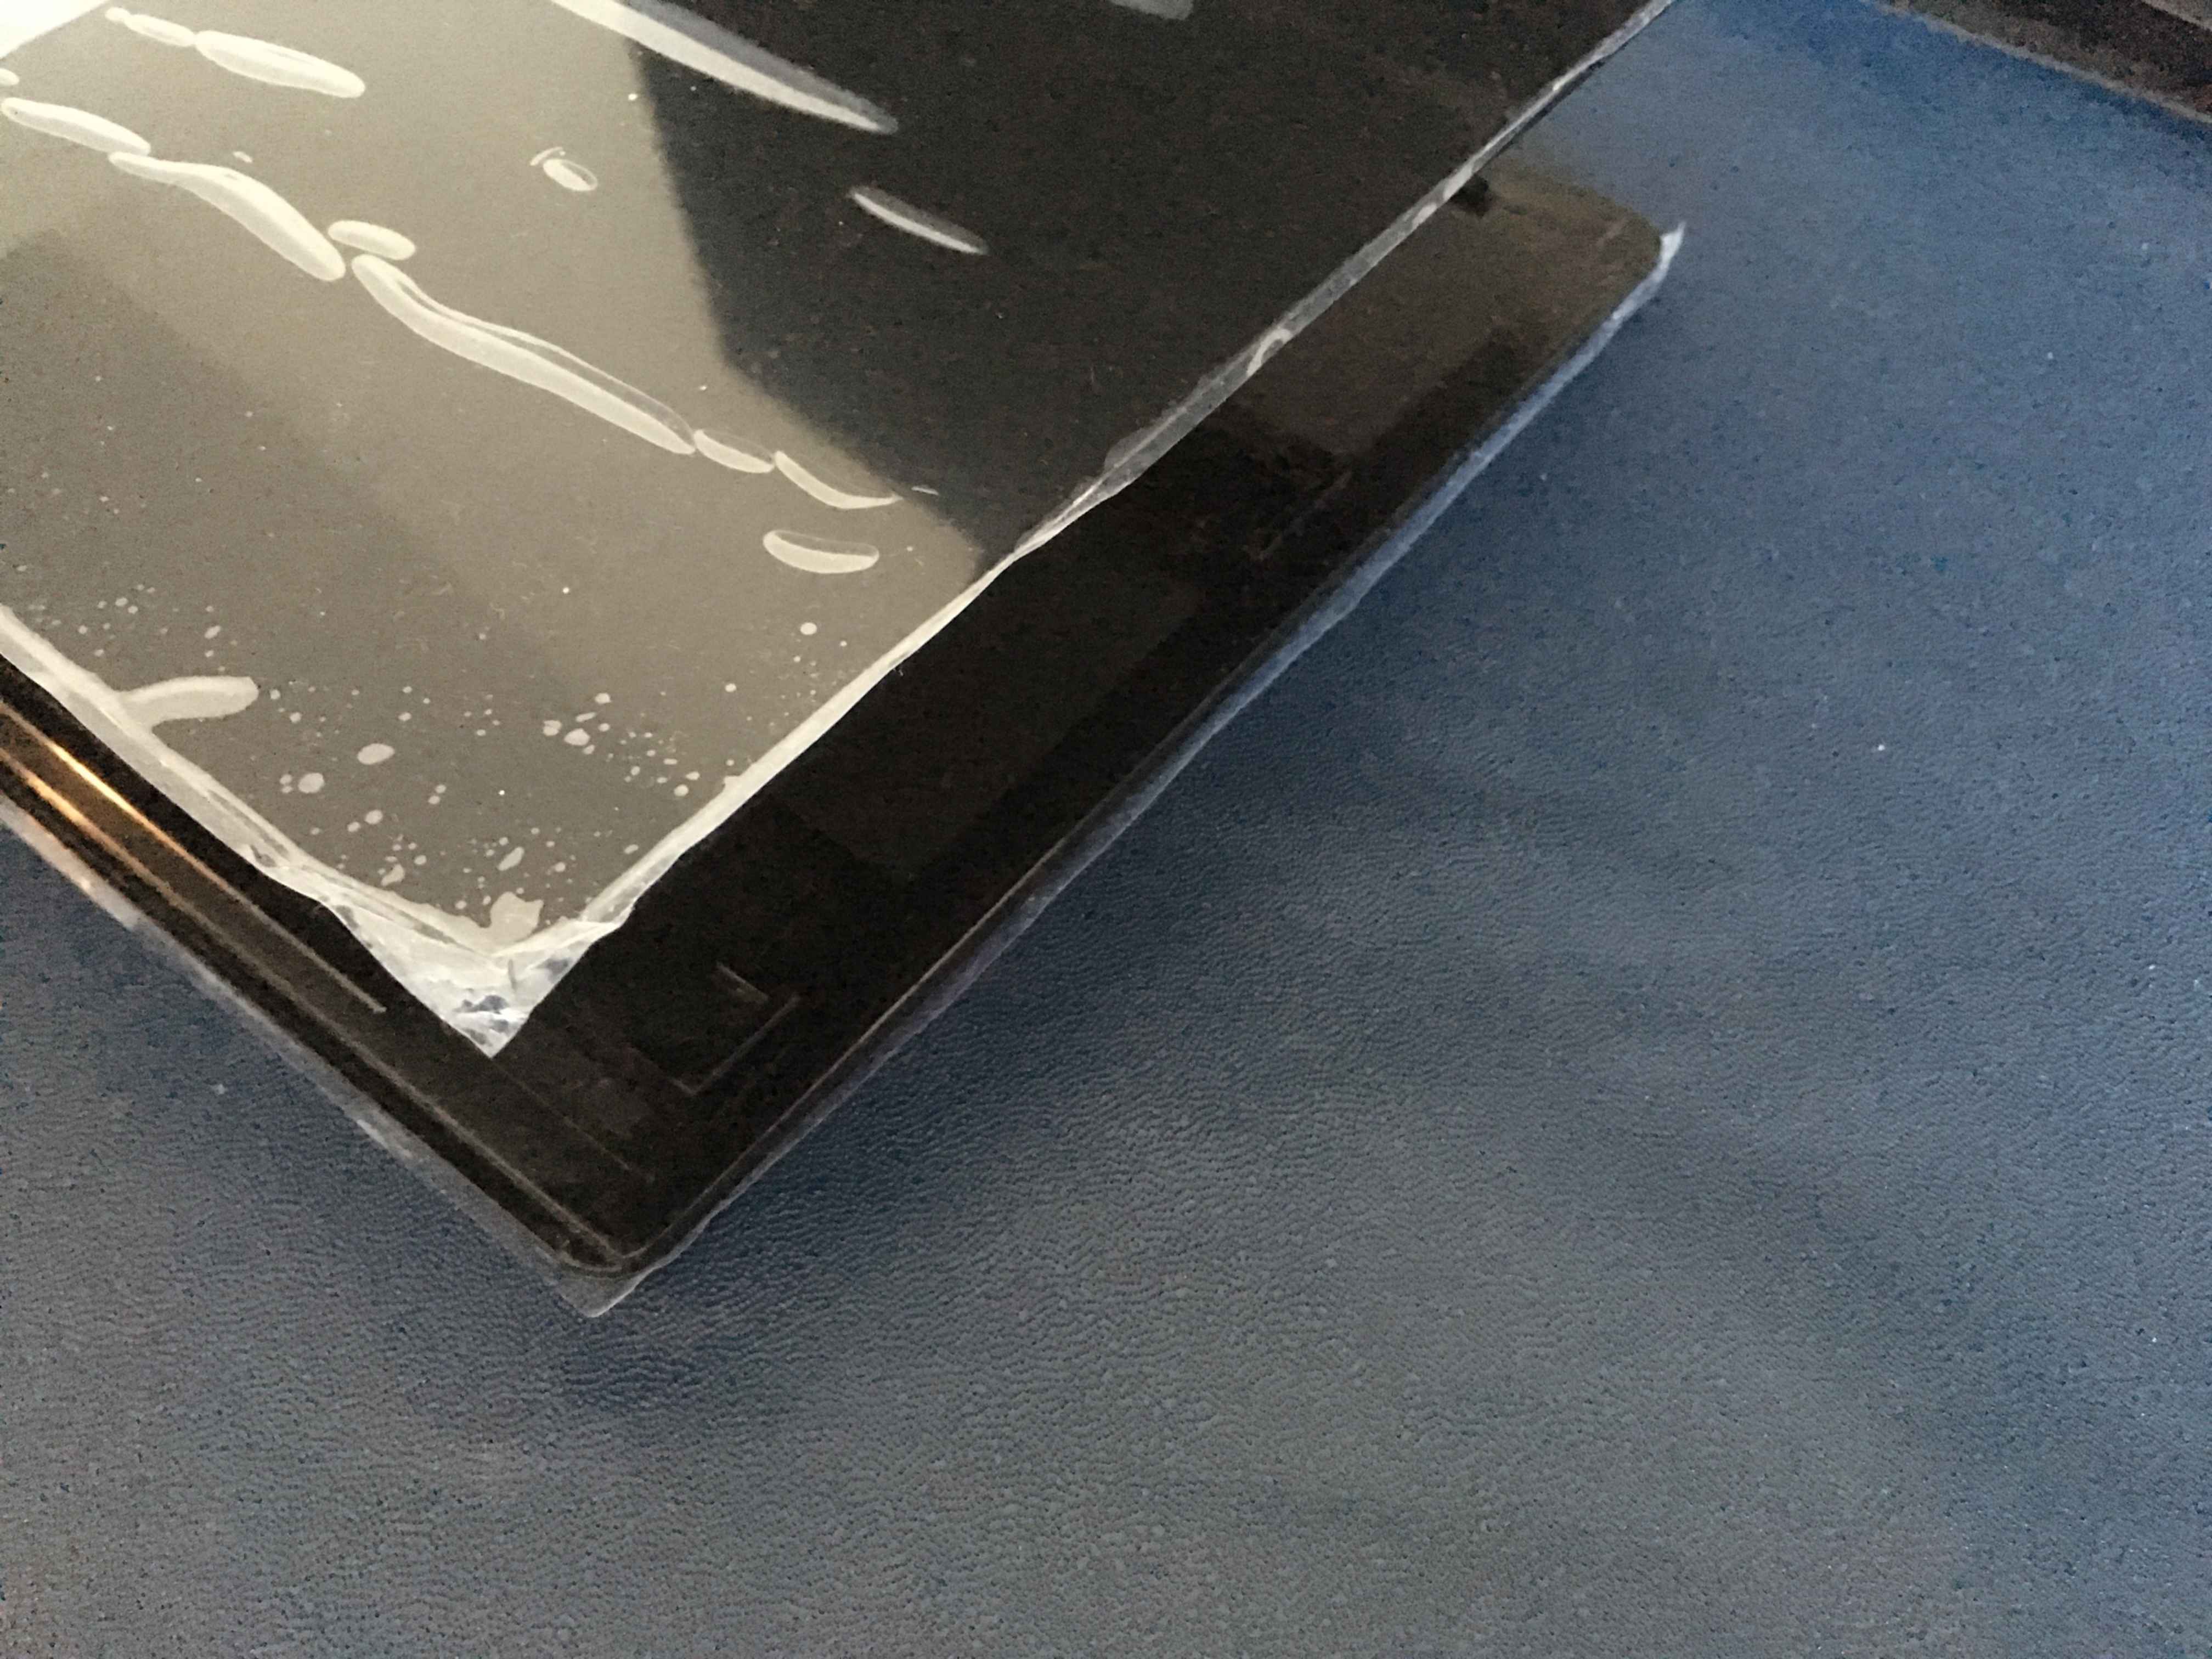
They are positioned asymmetrically. You can feel the positions by inserting about a centimetre, and then rotating/wobbling it around.

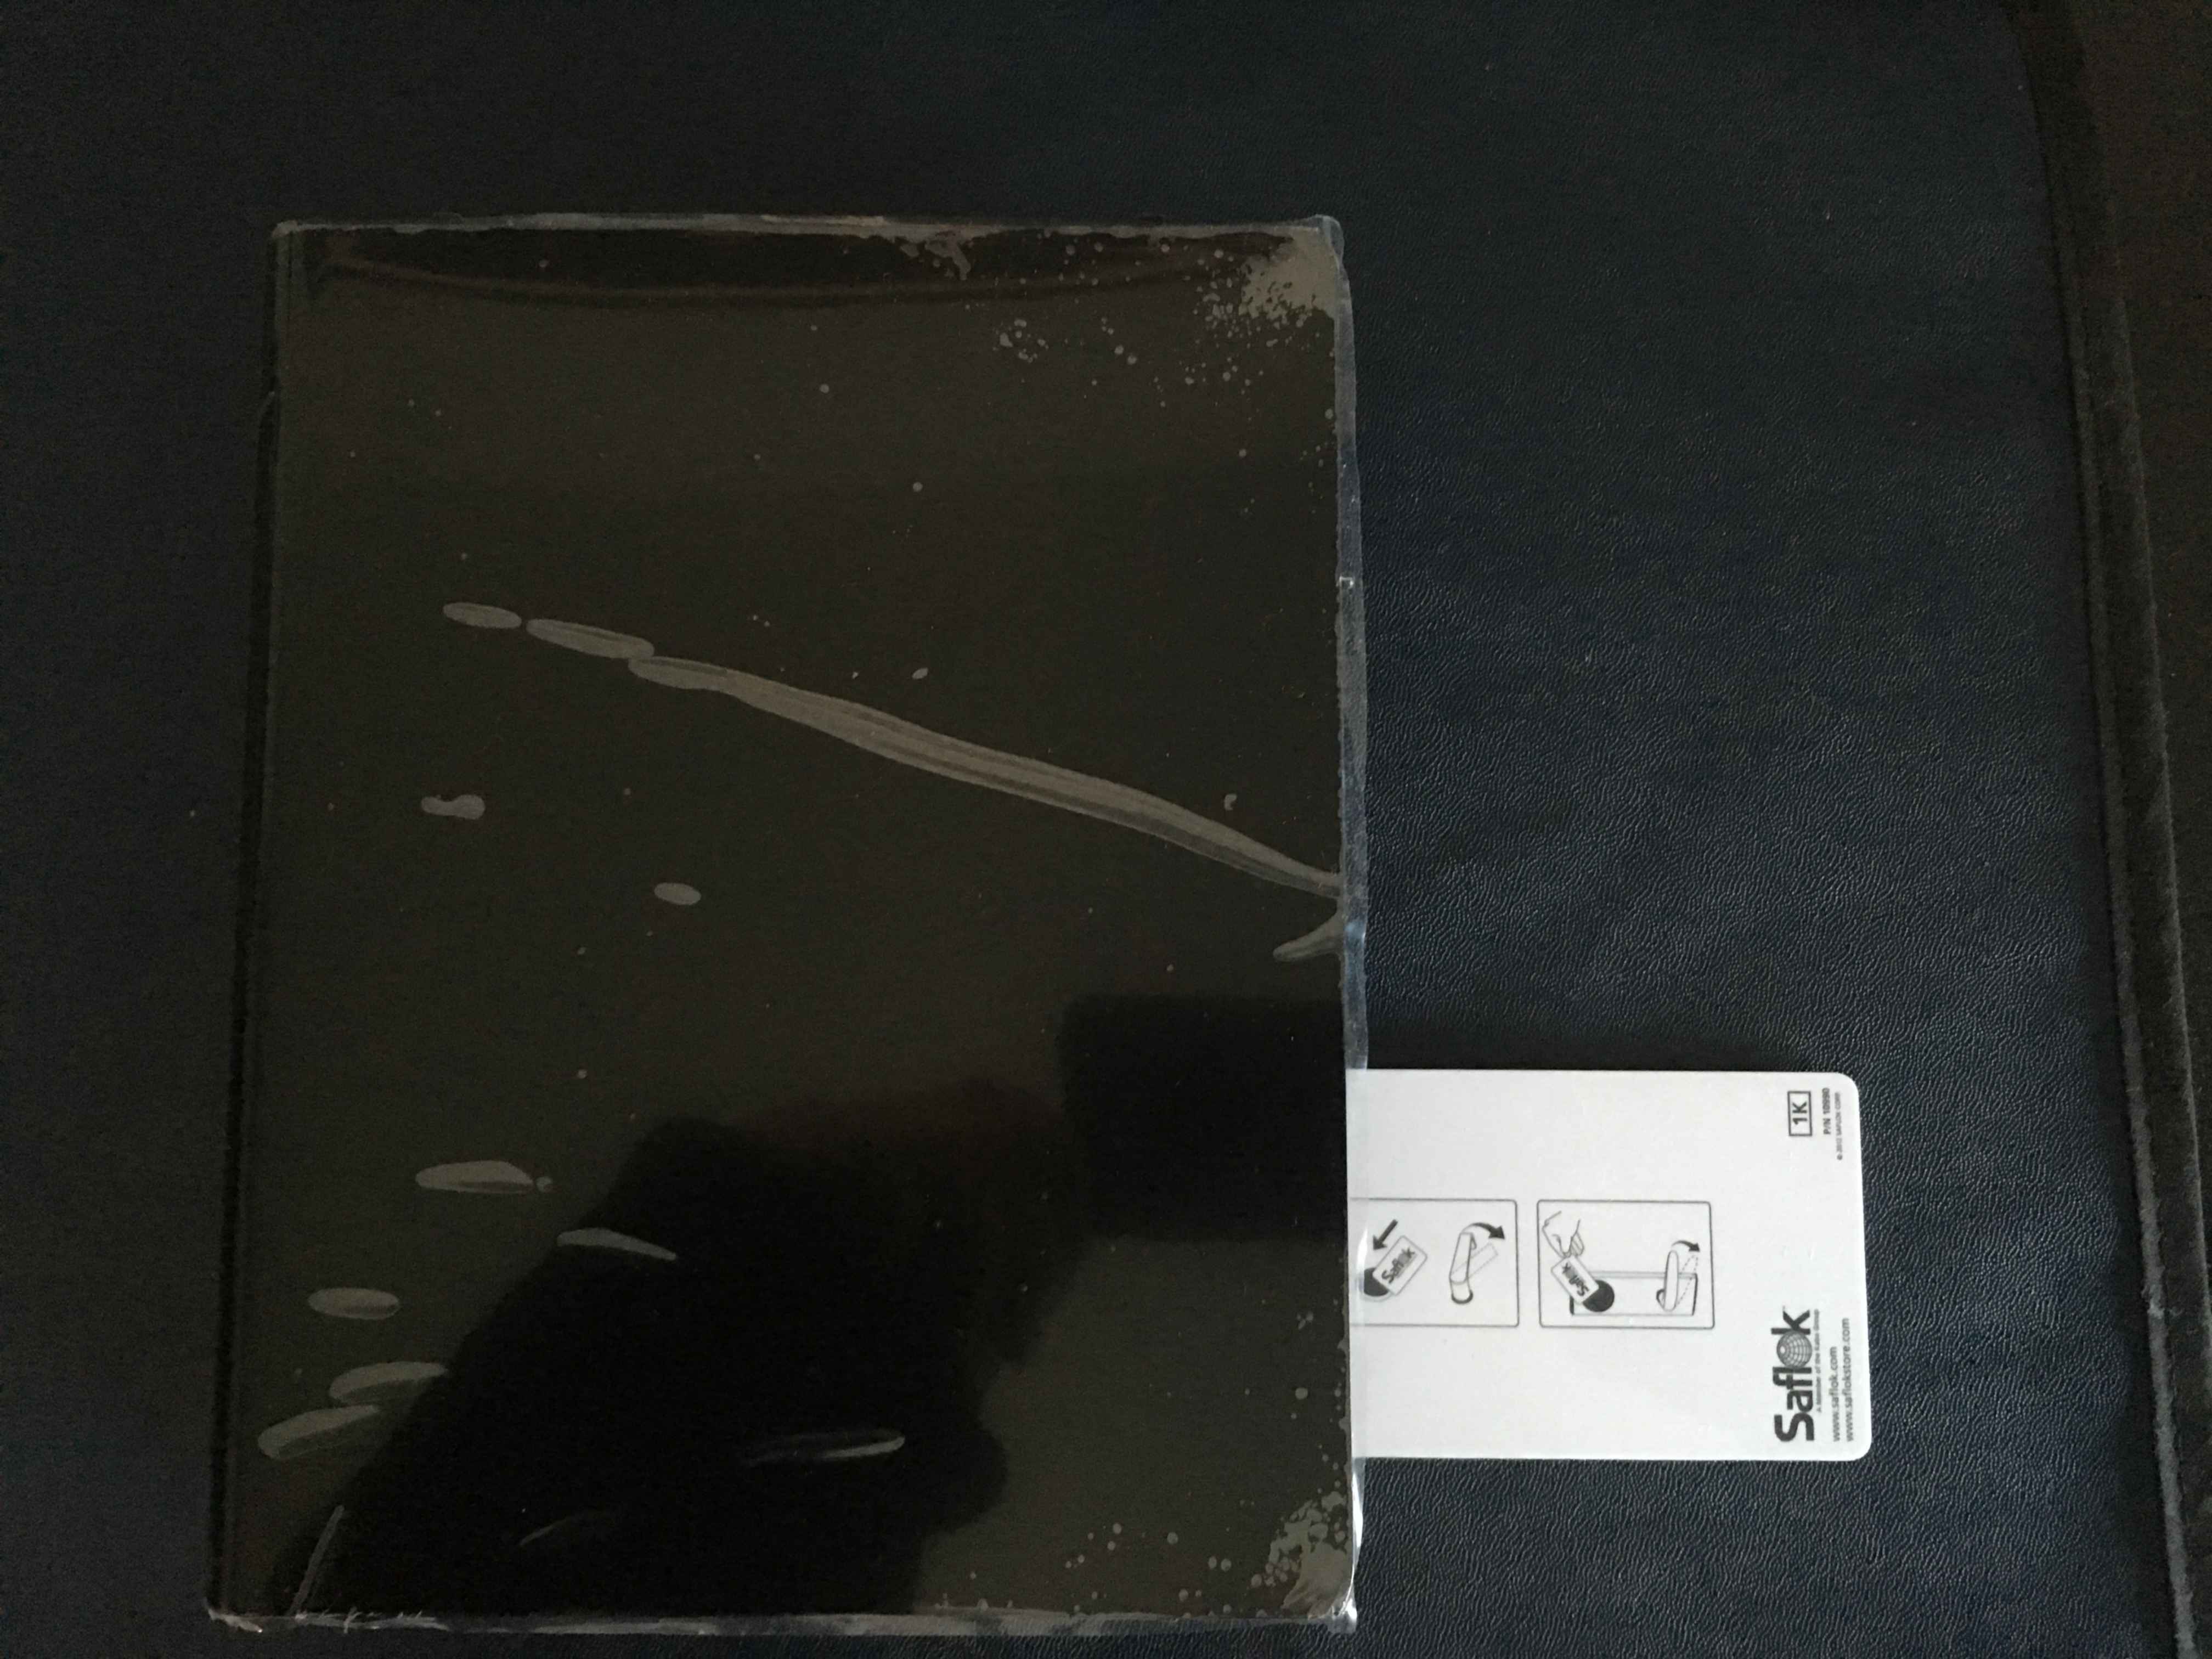
At this point, the outer shell can be slid off. Maybe slid off is the wrong wording, it’s quite a tight fit and requires some prying. Spudgers or plectrums work well, if you don’t mind damaging the plastic you can also use a screwdriver.
You should be able to slowly pry open a gap at the front of the enclosure, which then makes it easy to slide the shell off.
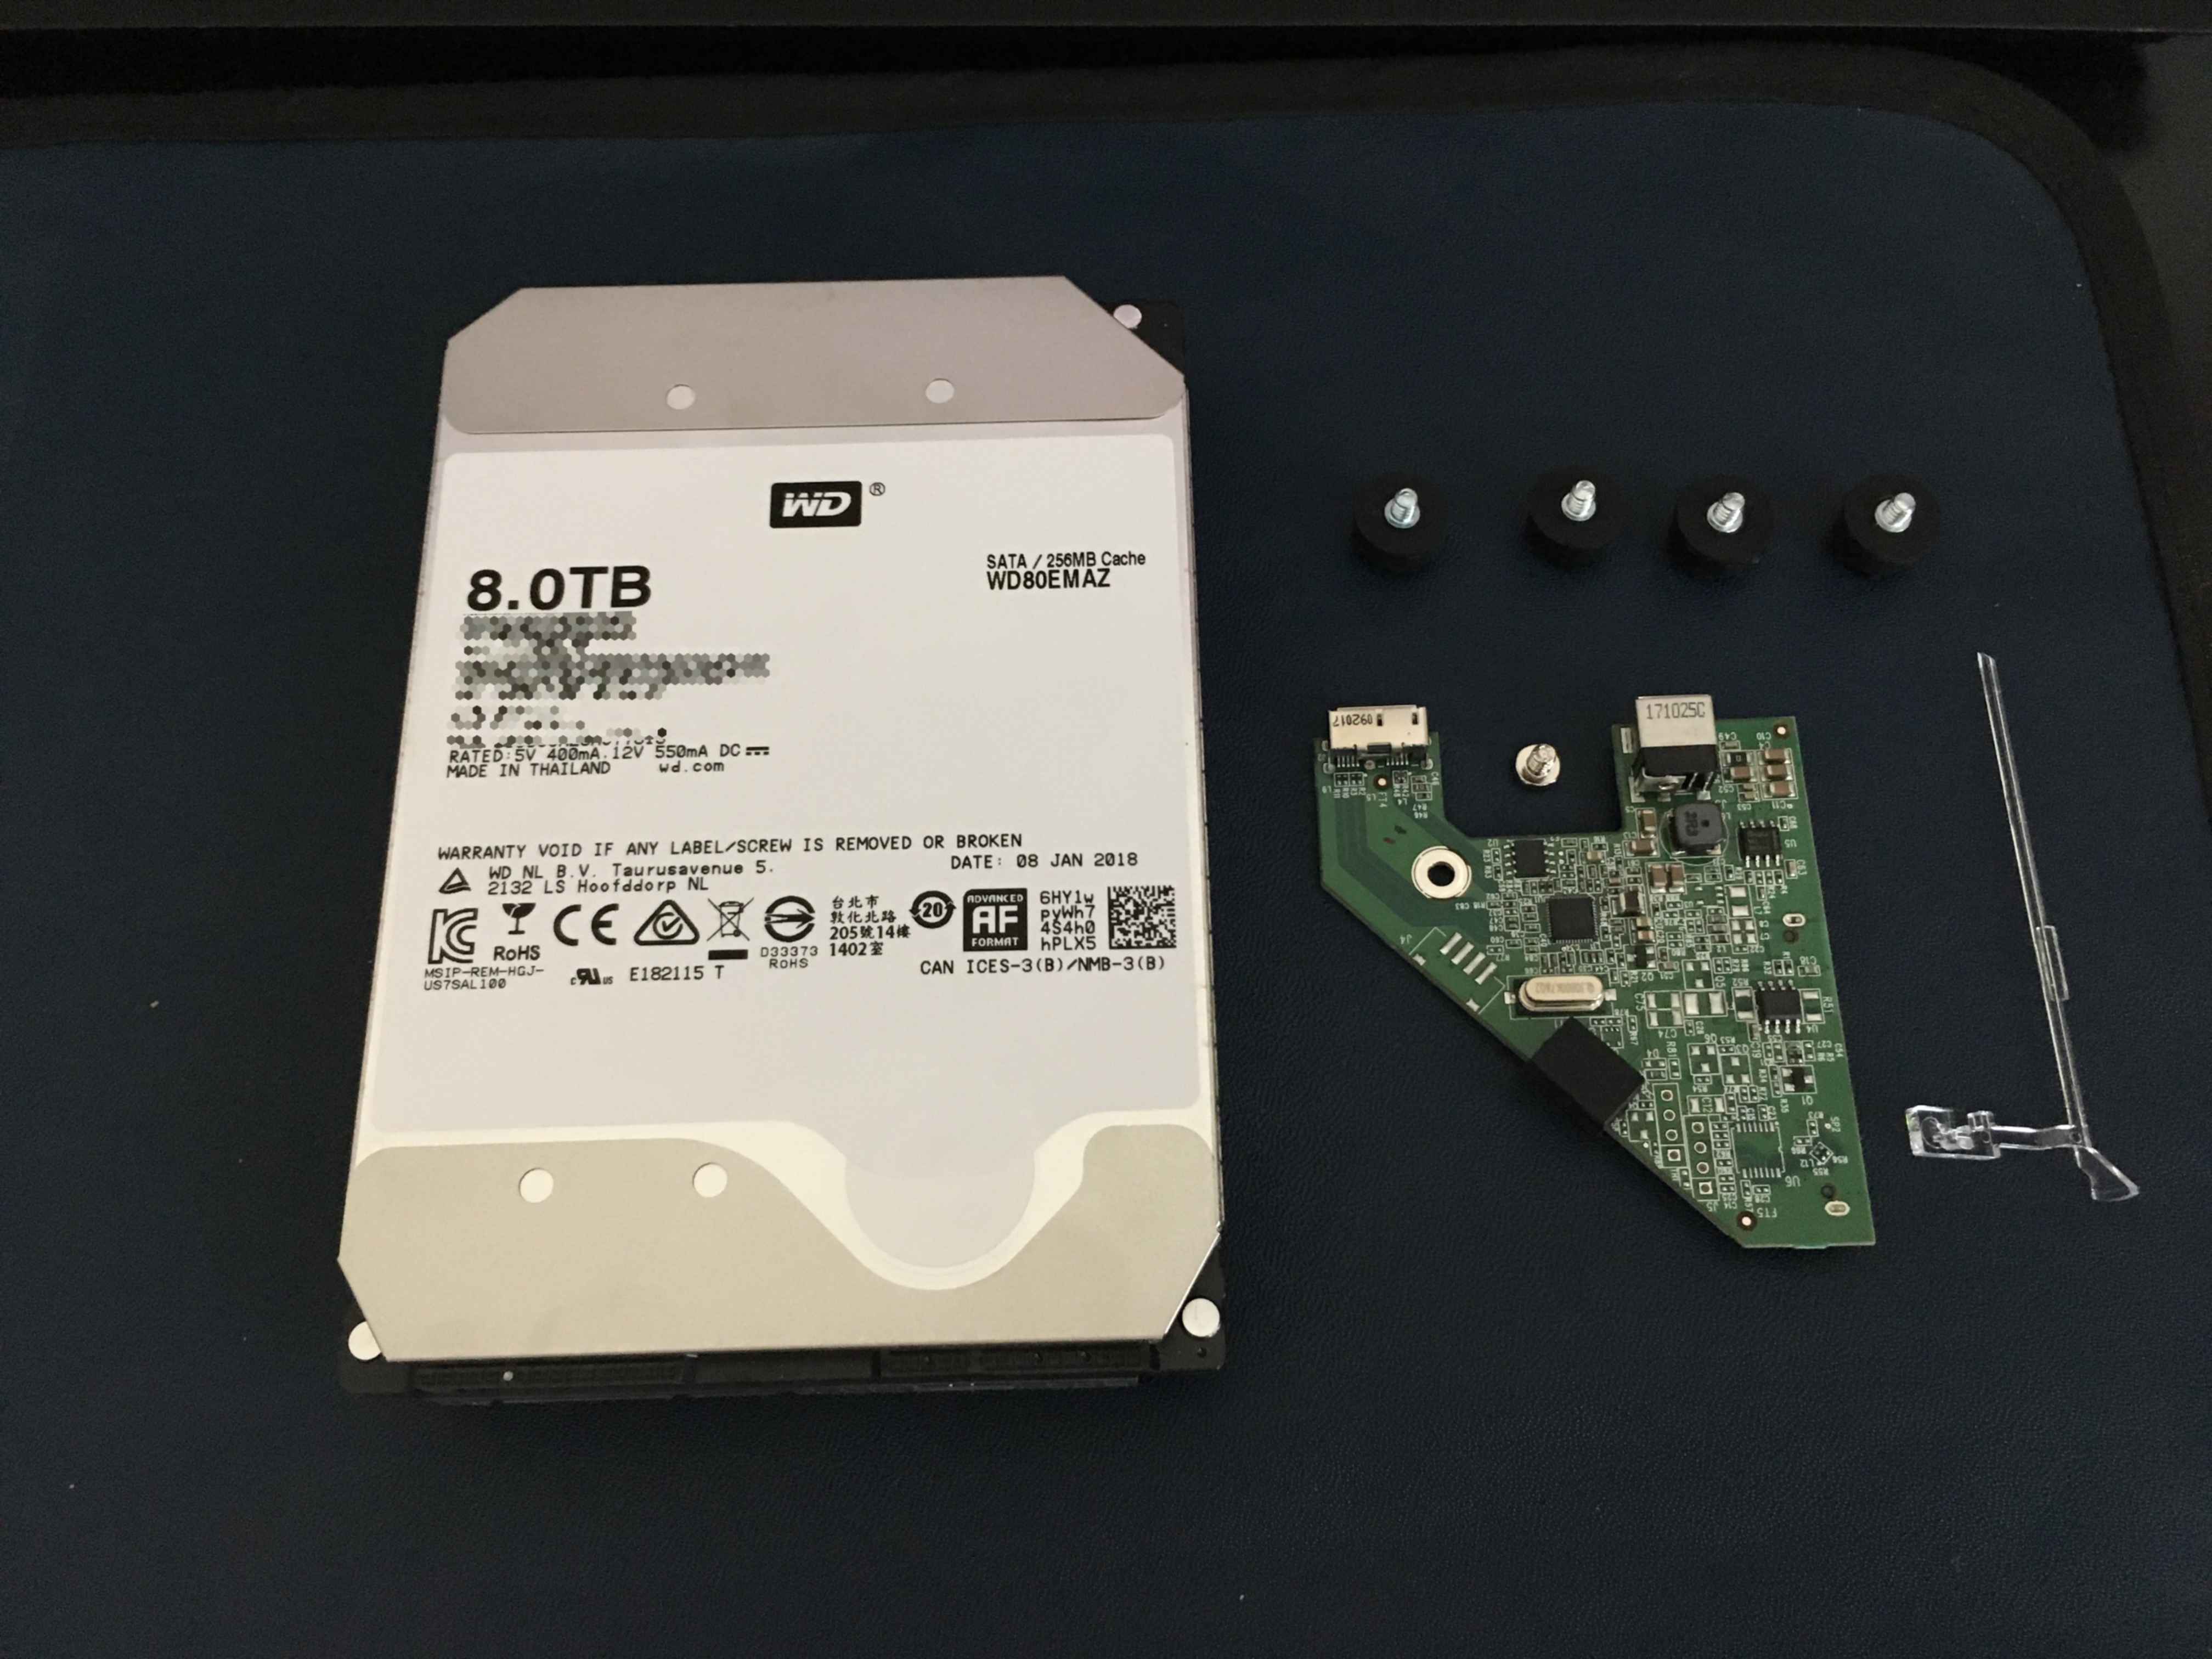
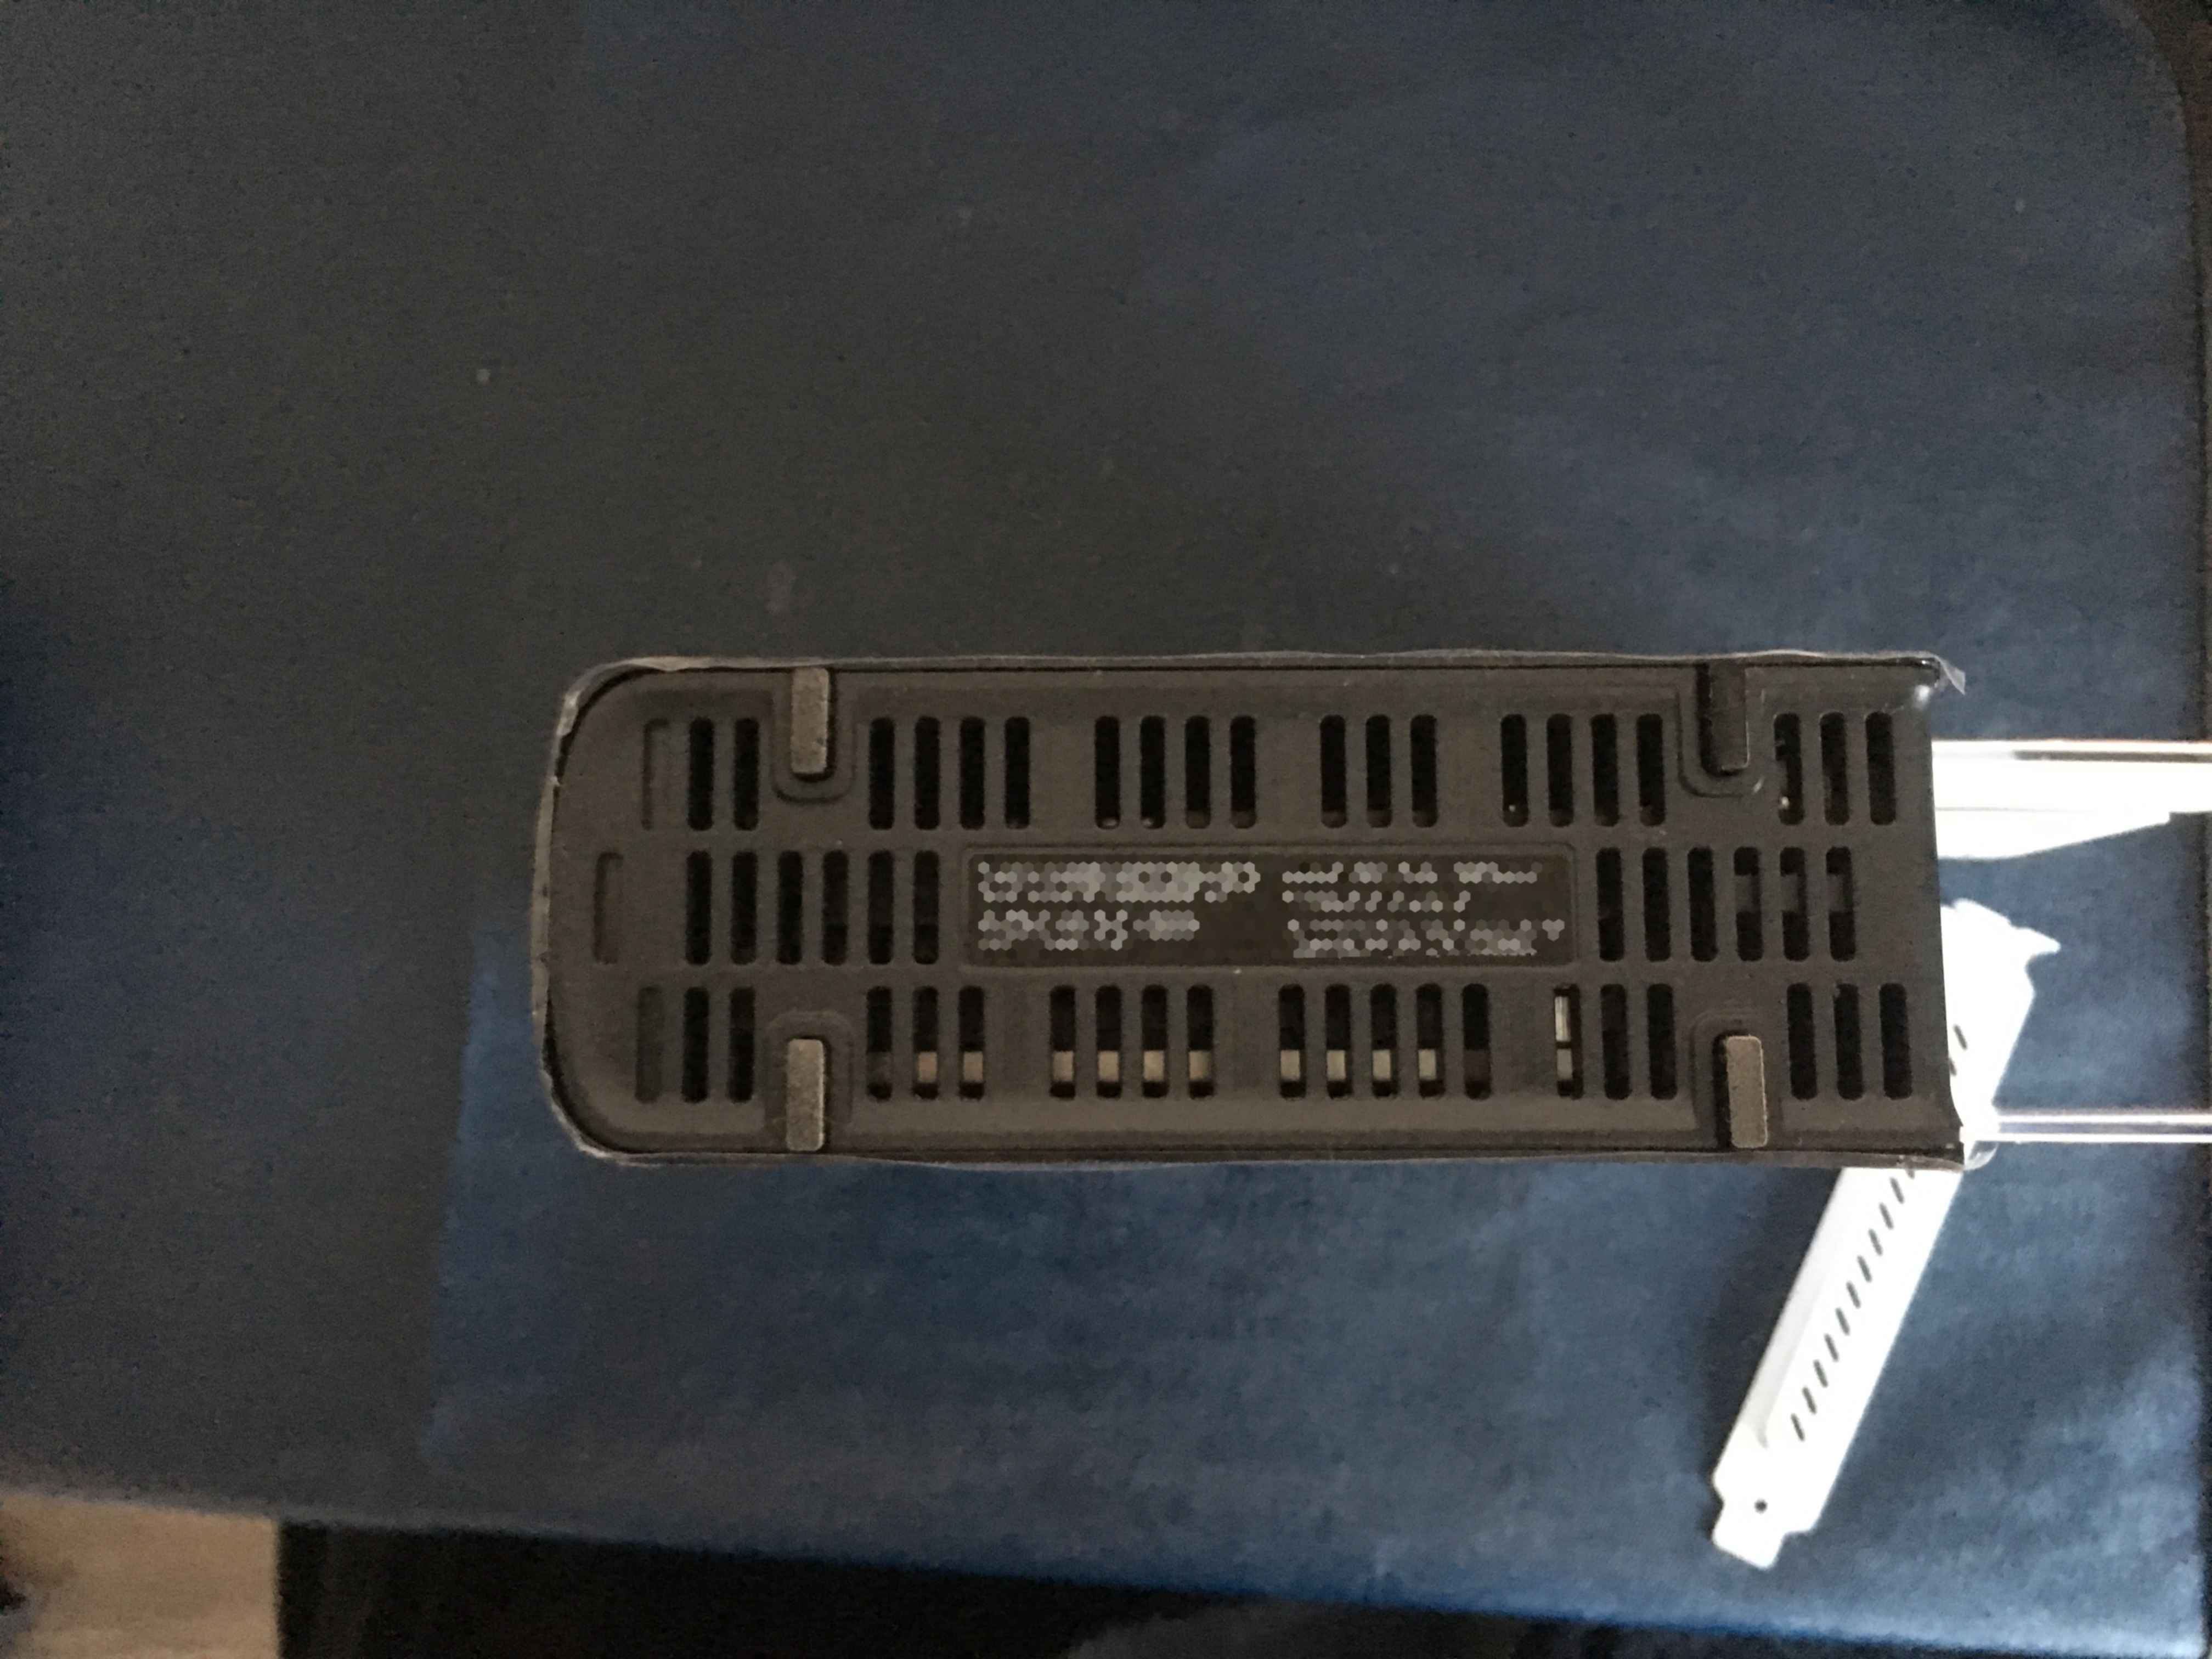
Now it’s time to get the drive out of the inner shell. The drive is held in place by four rubber bumpers to reduce vibration and noise, additionally you have to be a bit careful about the USB and power interface at the back. On the label side, carefully push up the front so the drive becomes angled in the shell, and the bumpers pop up from their groves. The rubber does require some force to move.
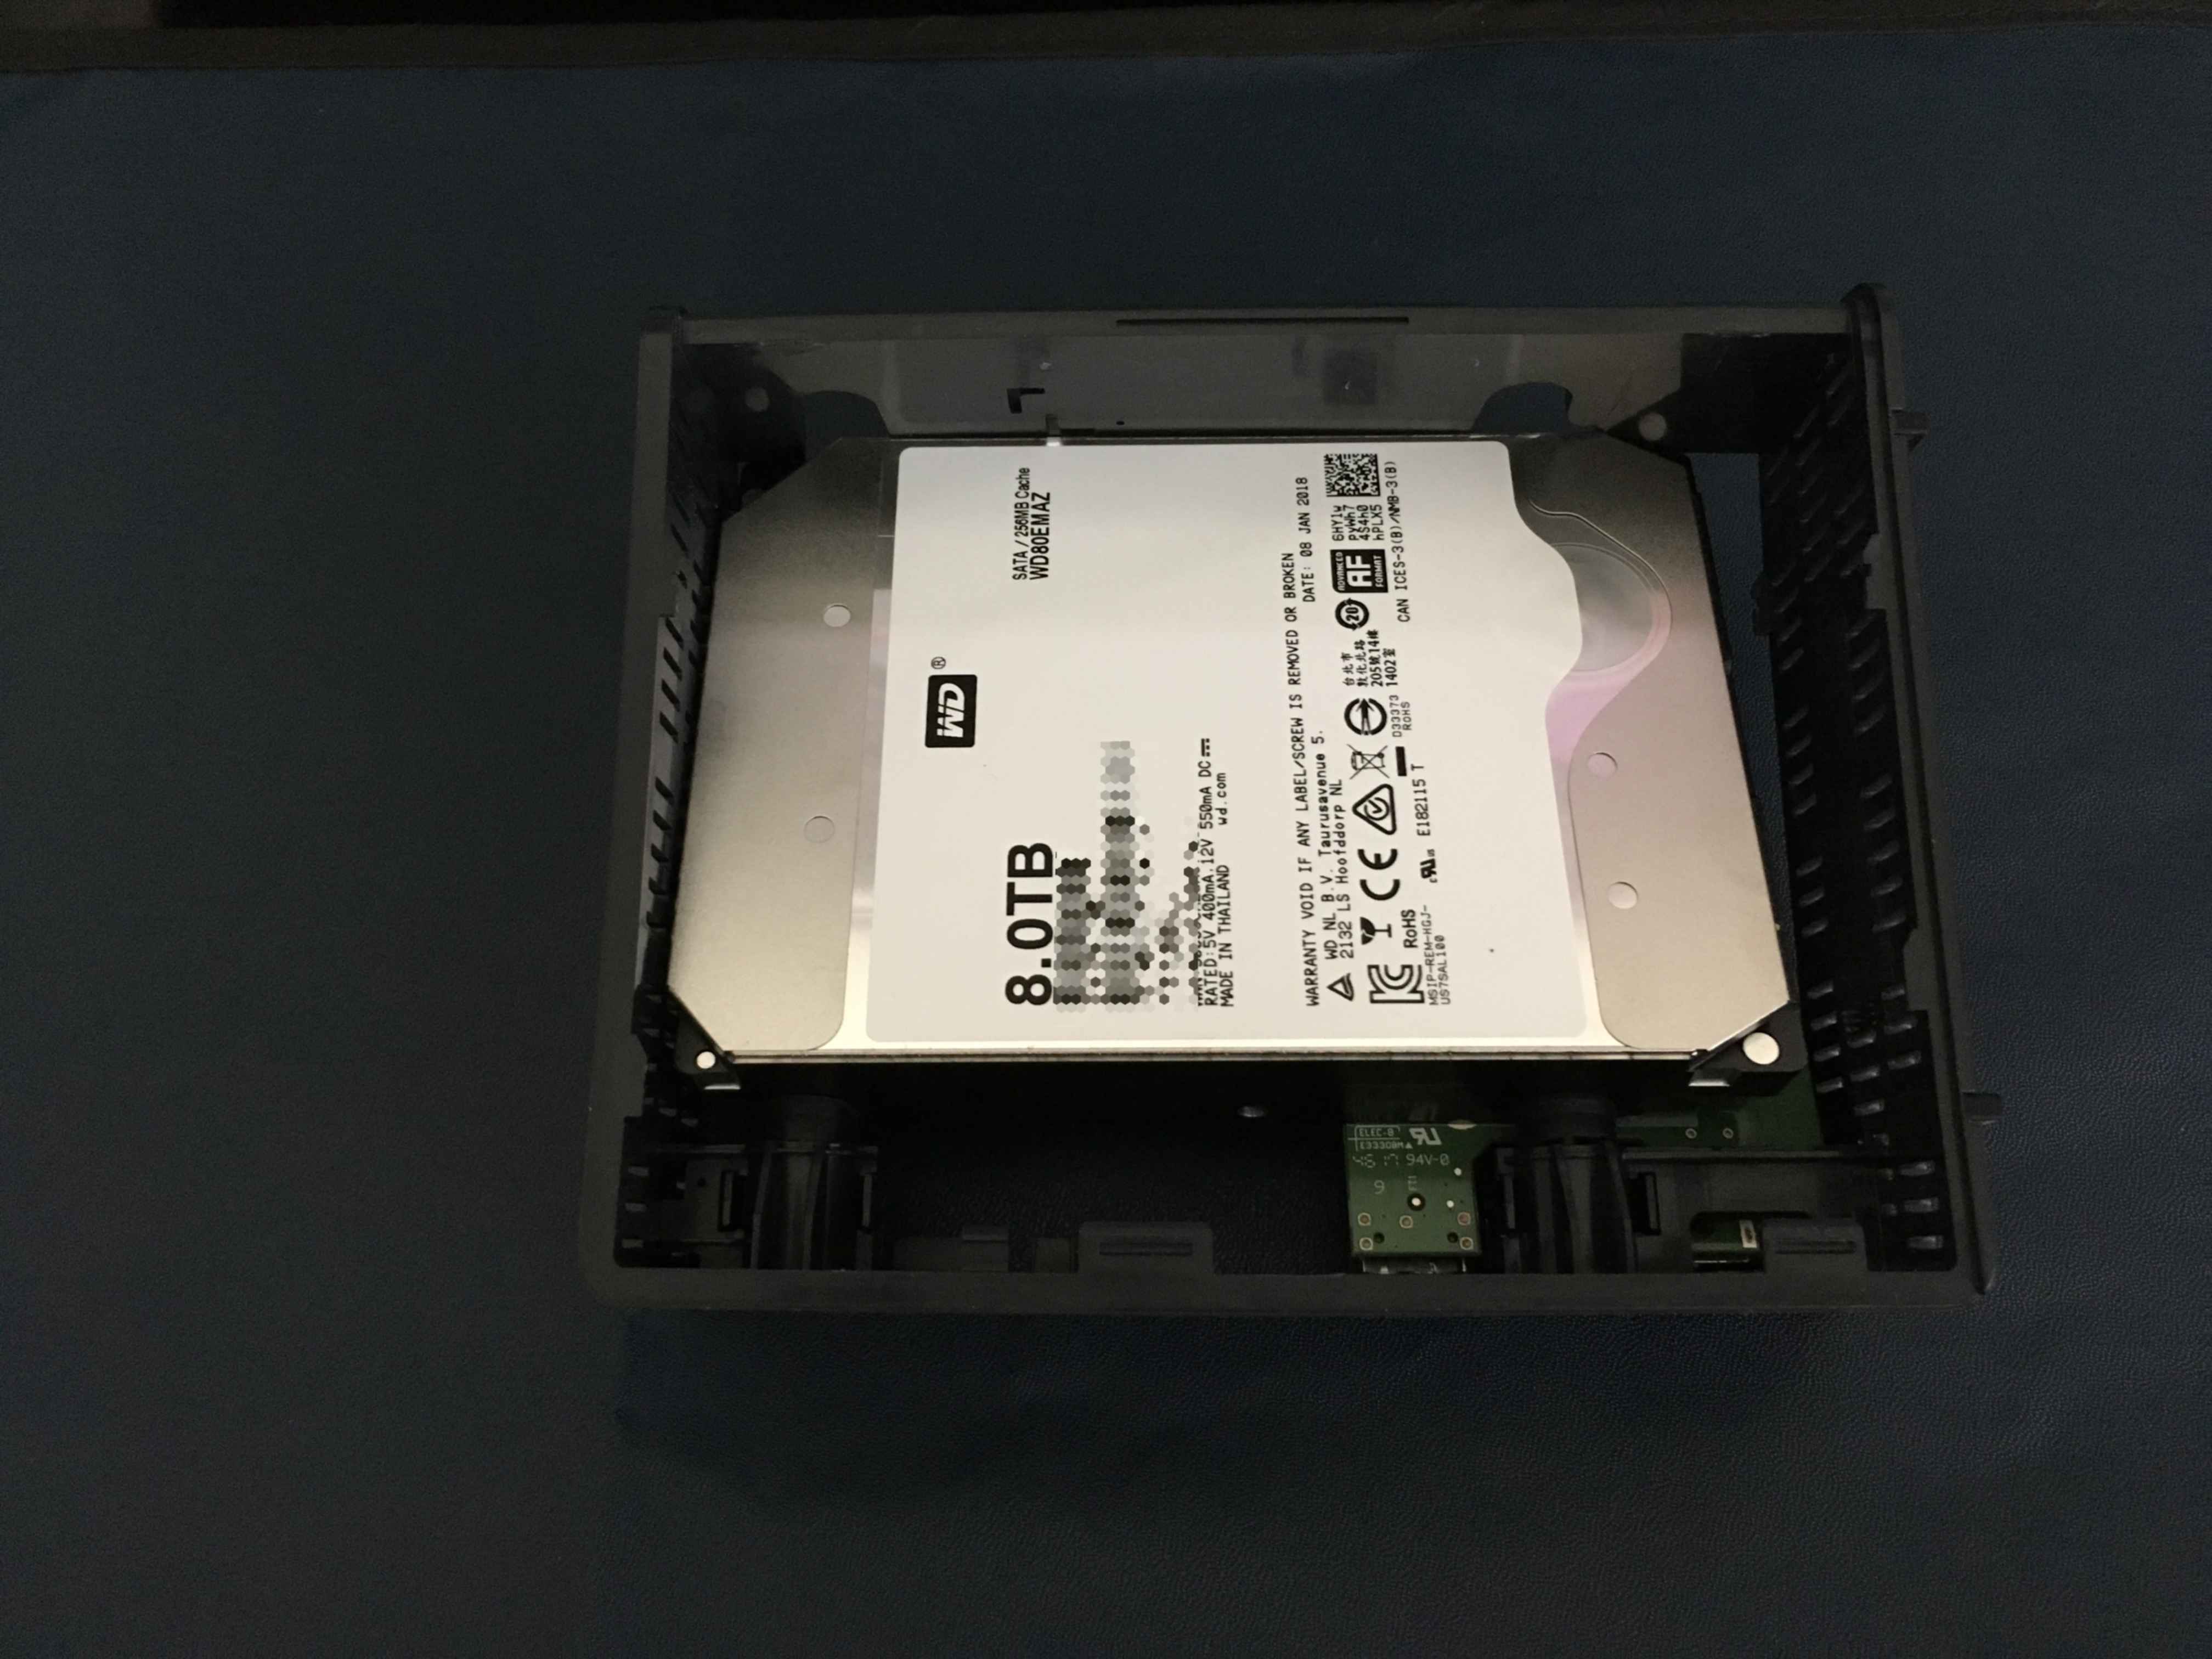
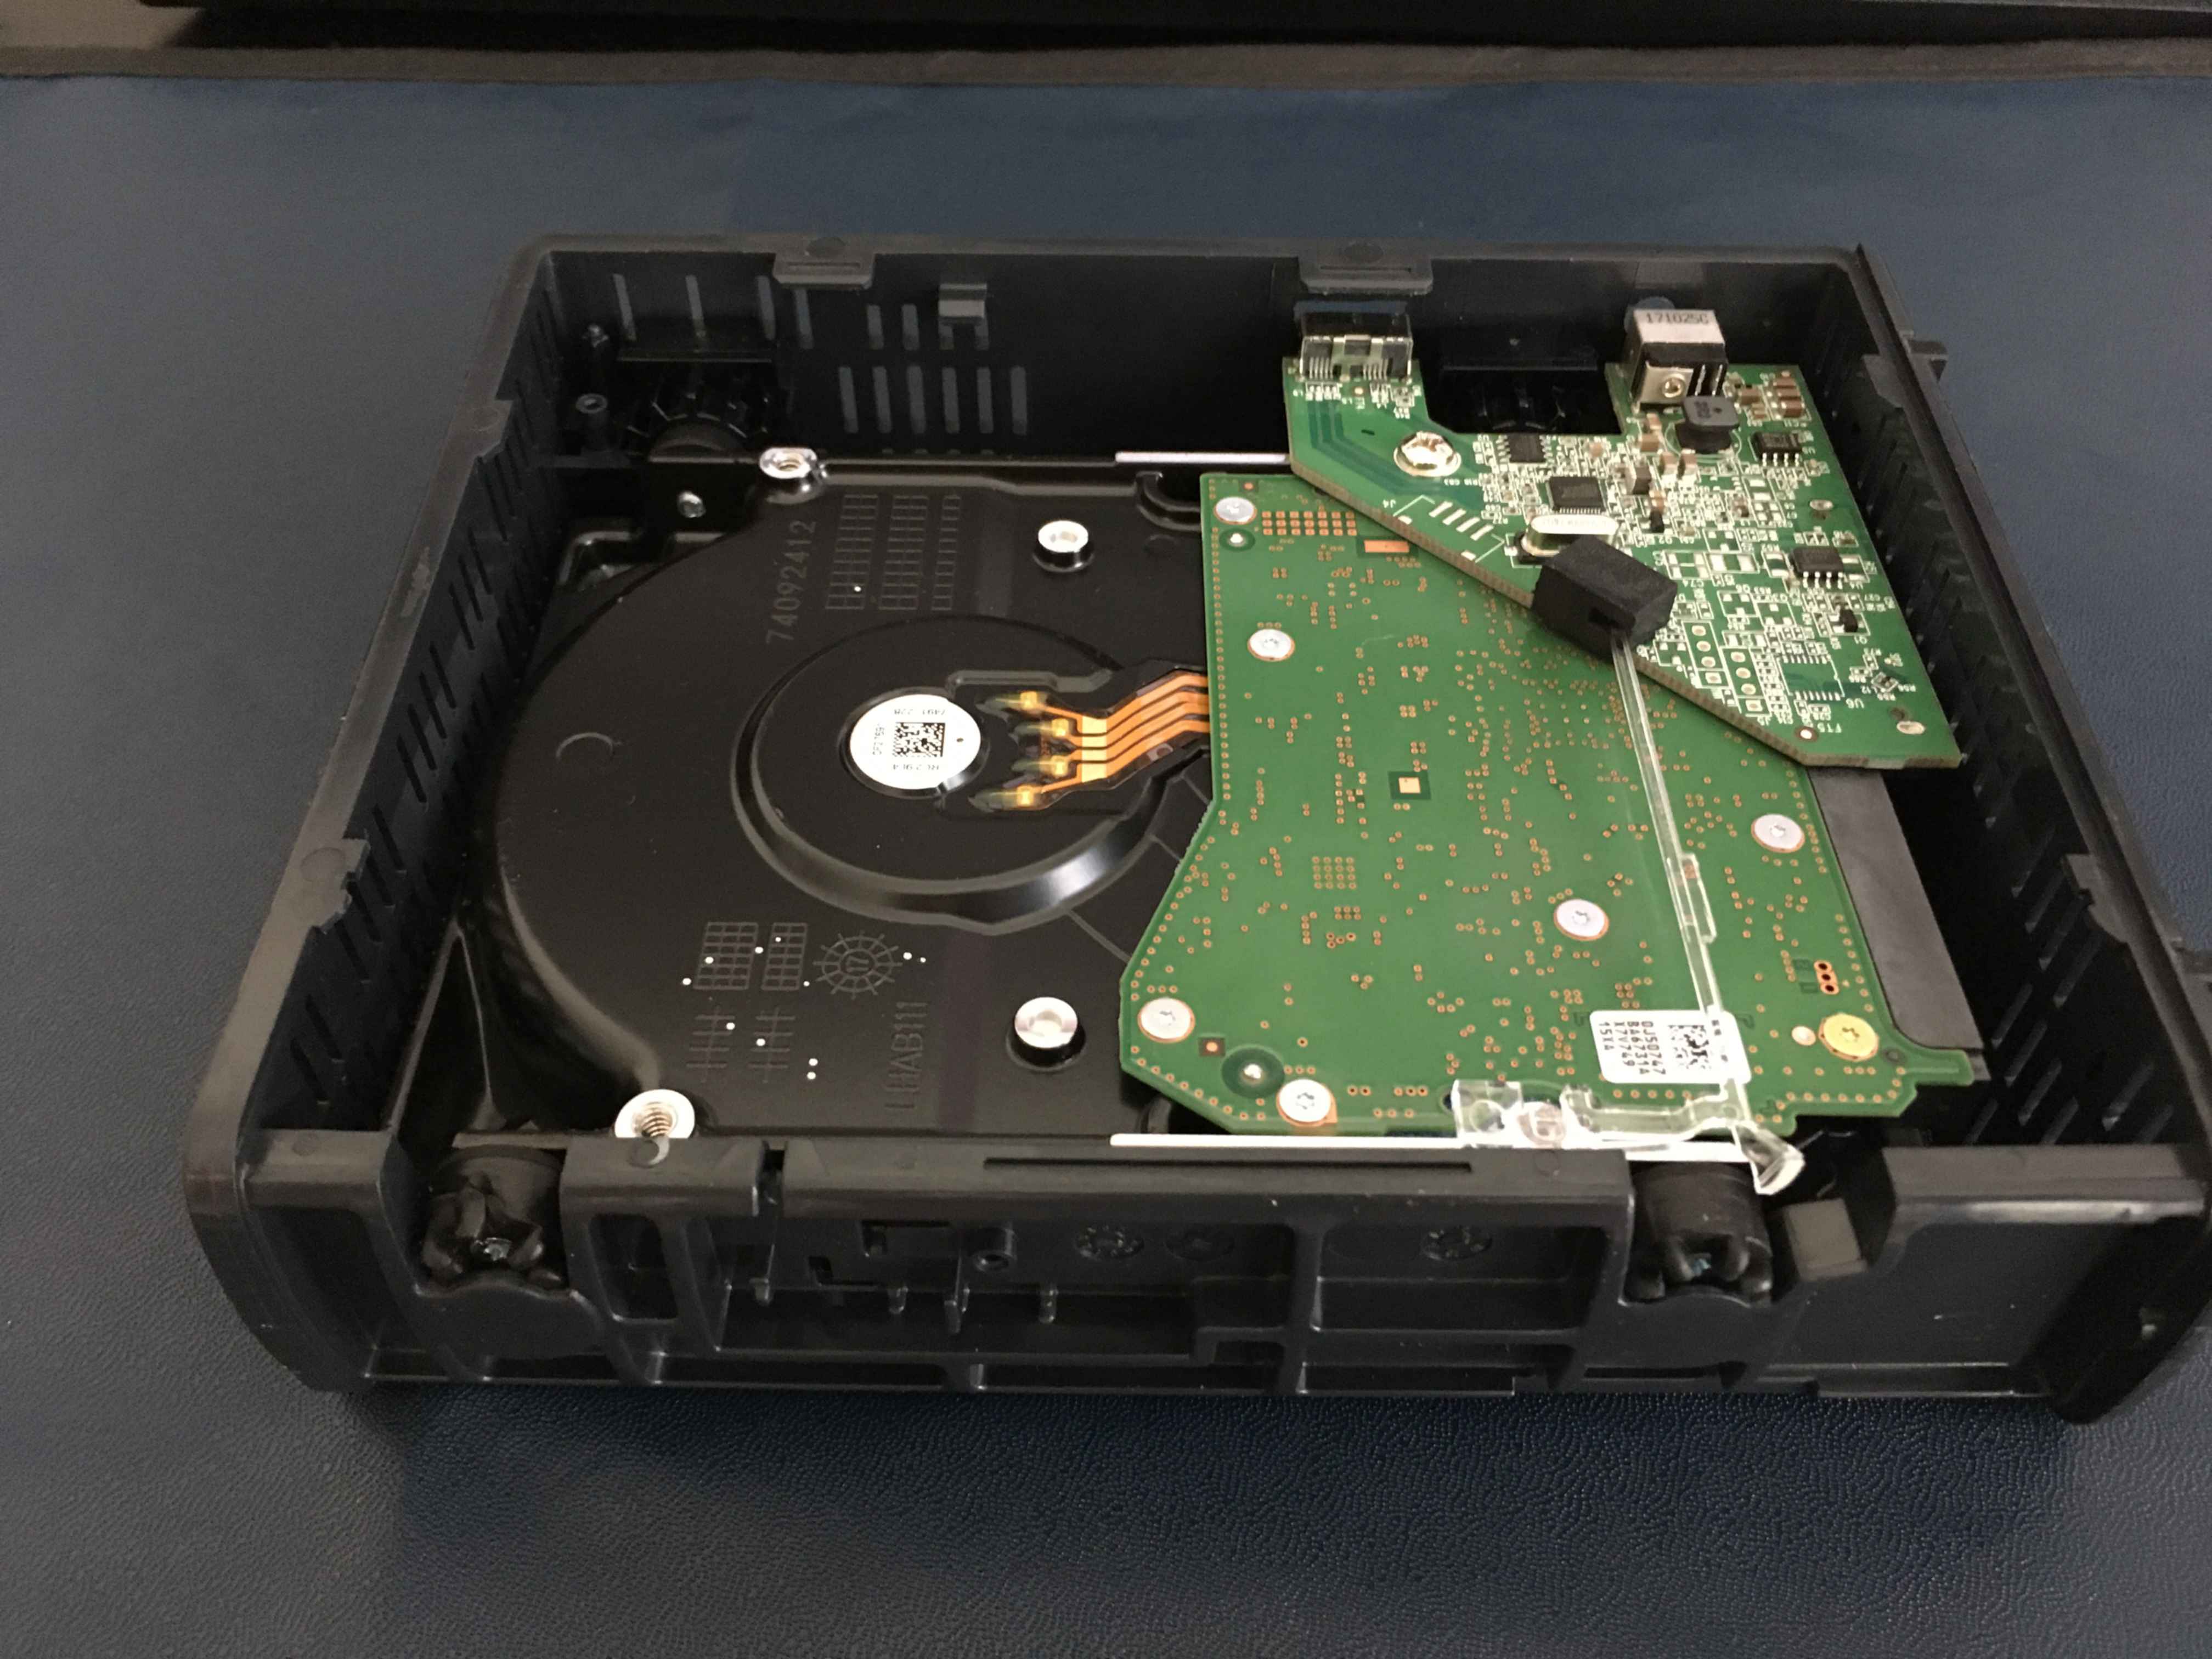
Then, continue to remove the drive with an up/forwards movement. Once the drive is removed from the inner shell, the USB interface and bumpers are next.
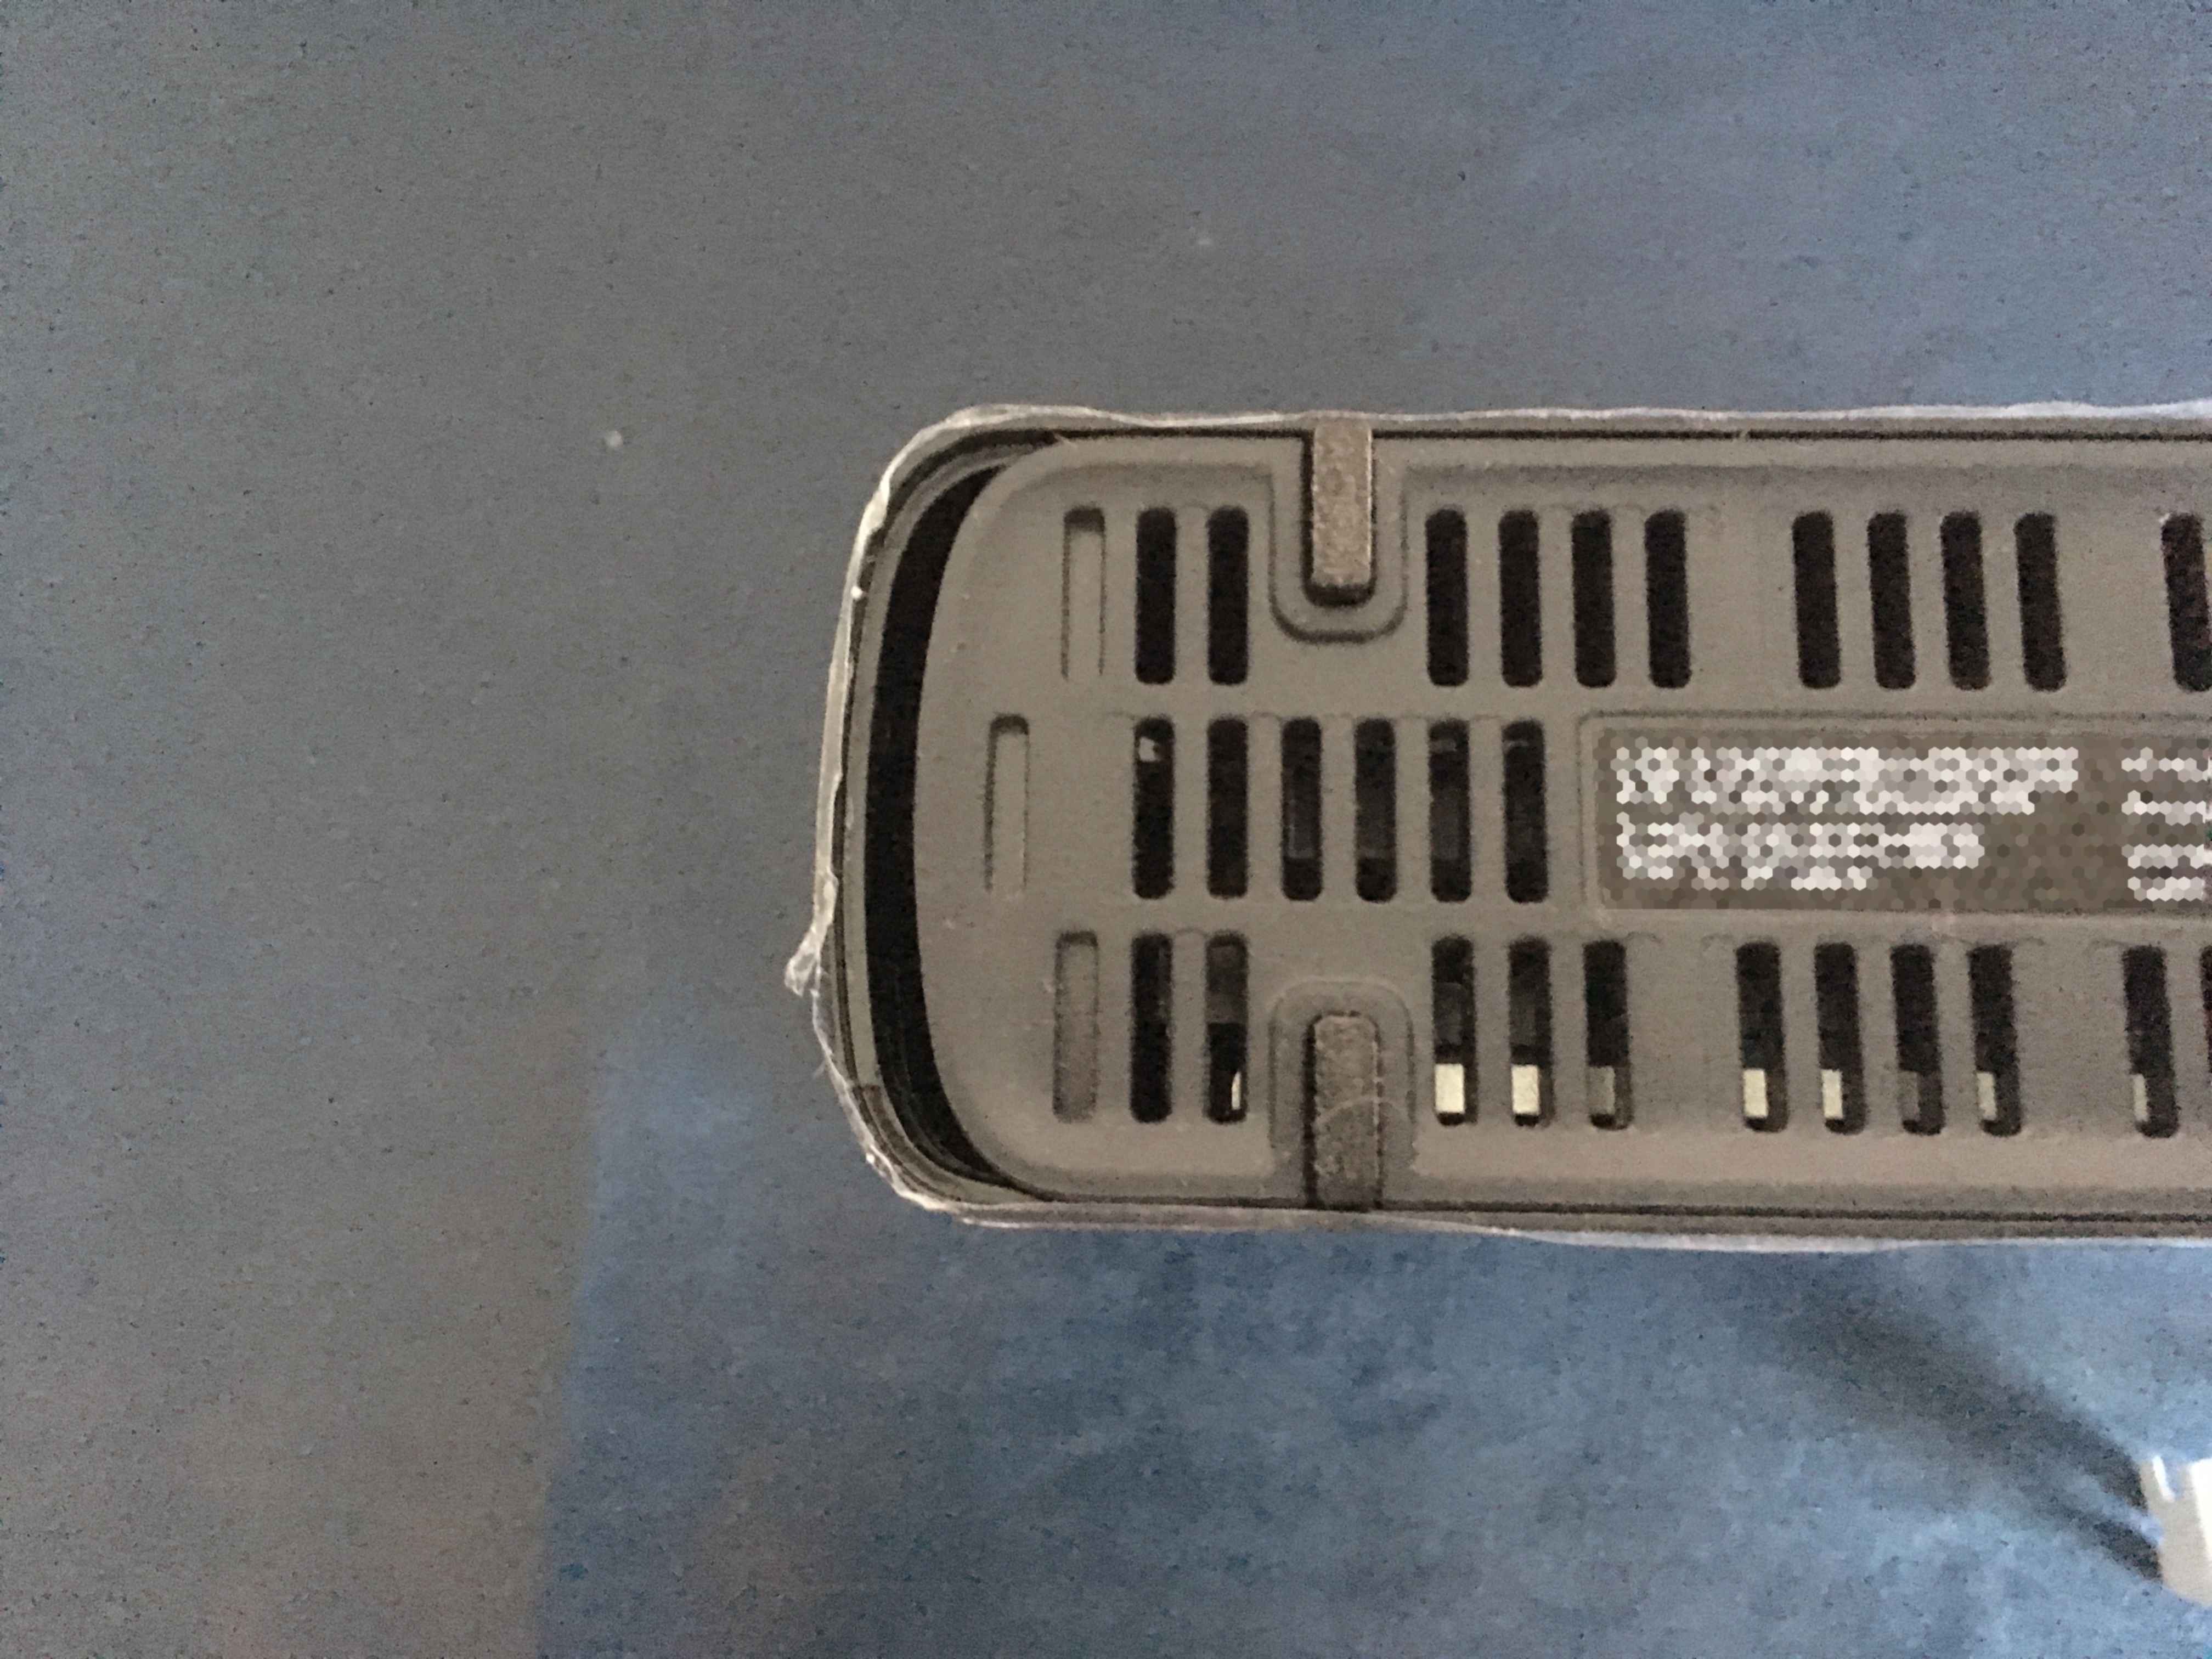
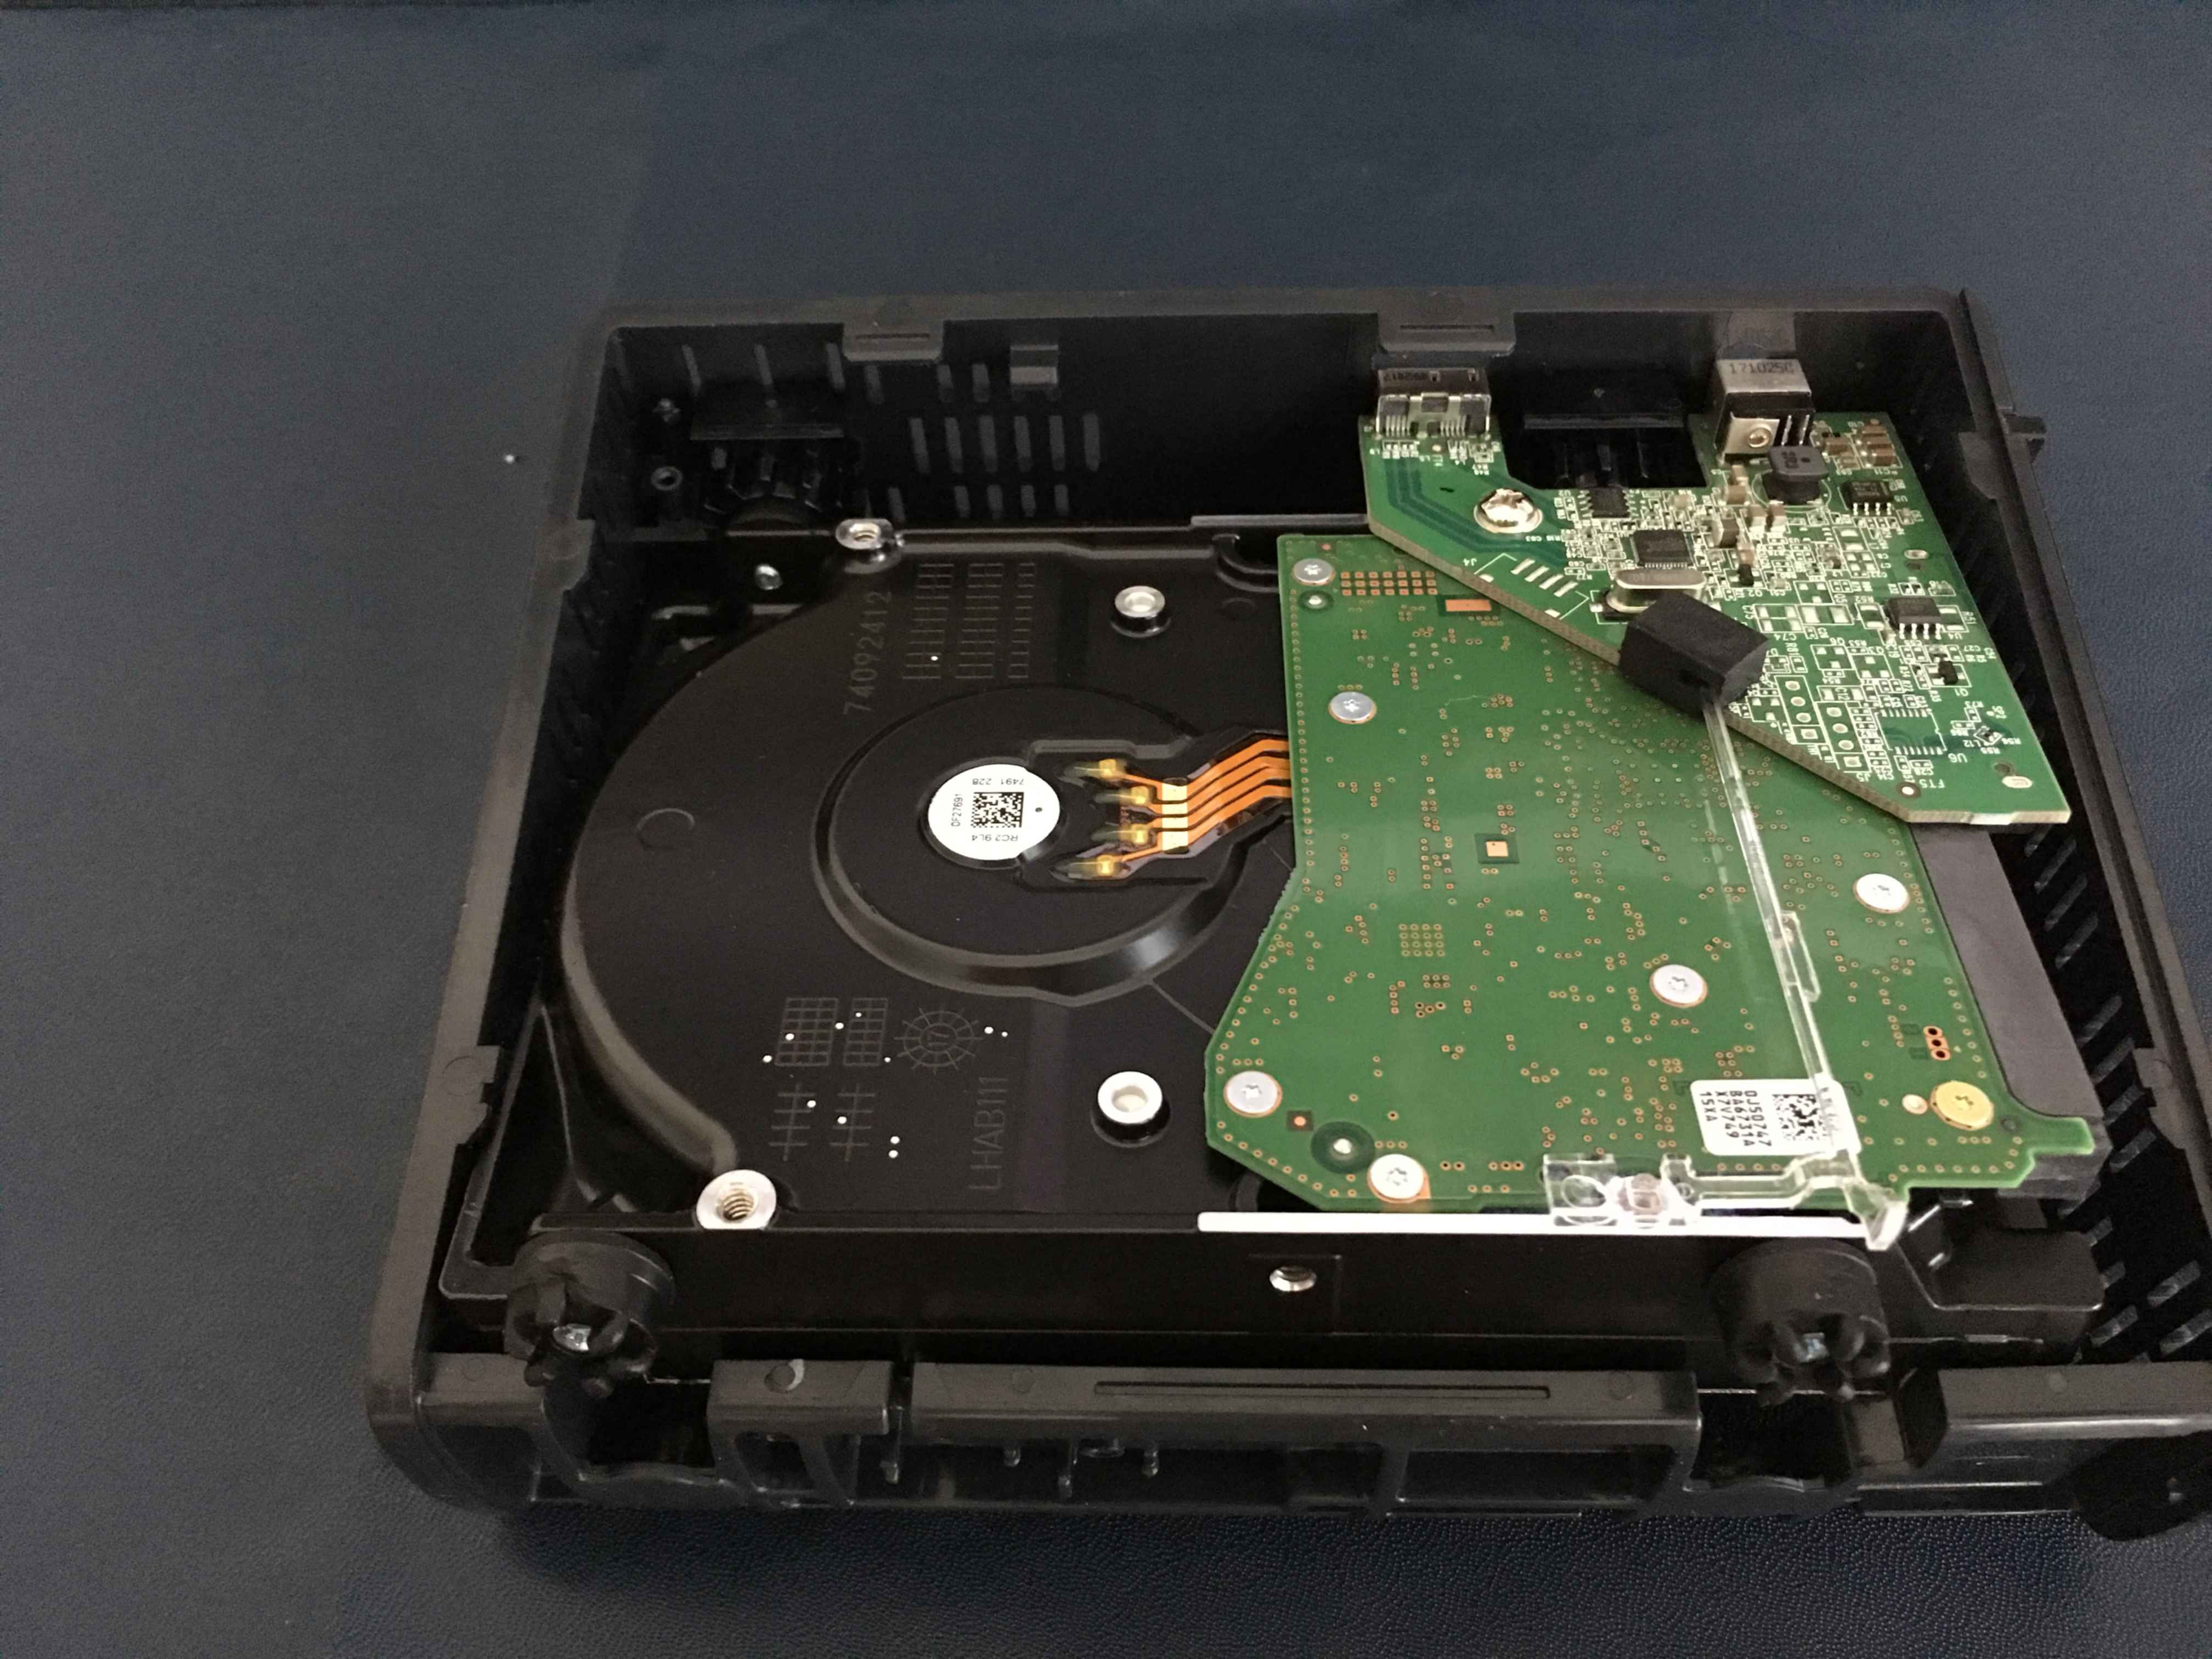
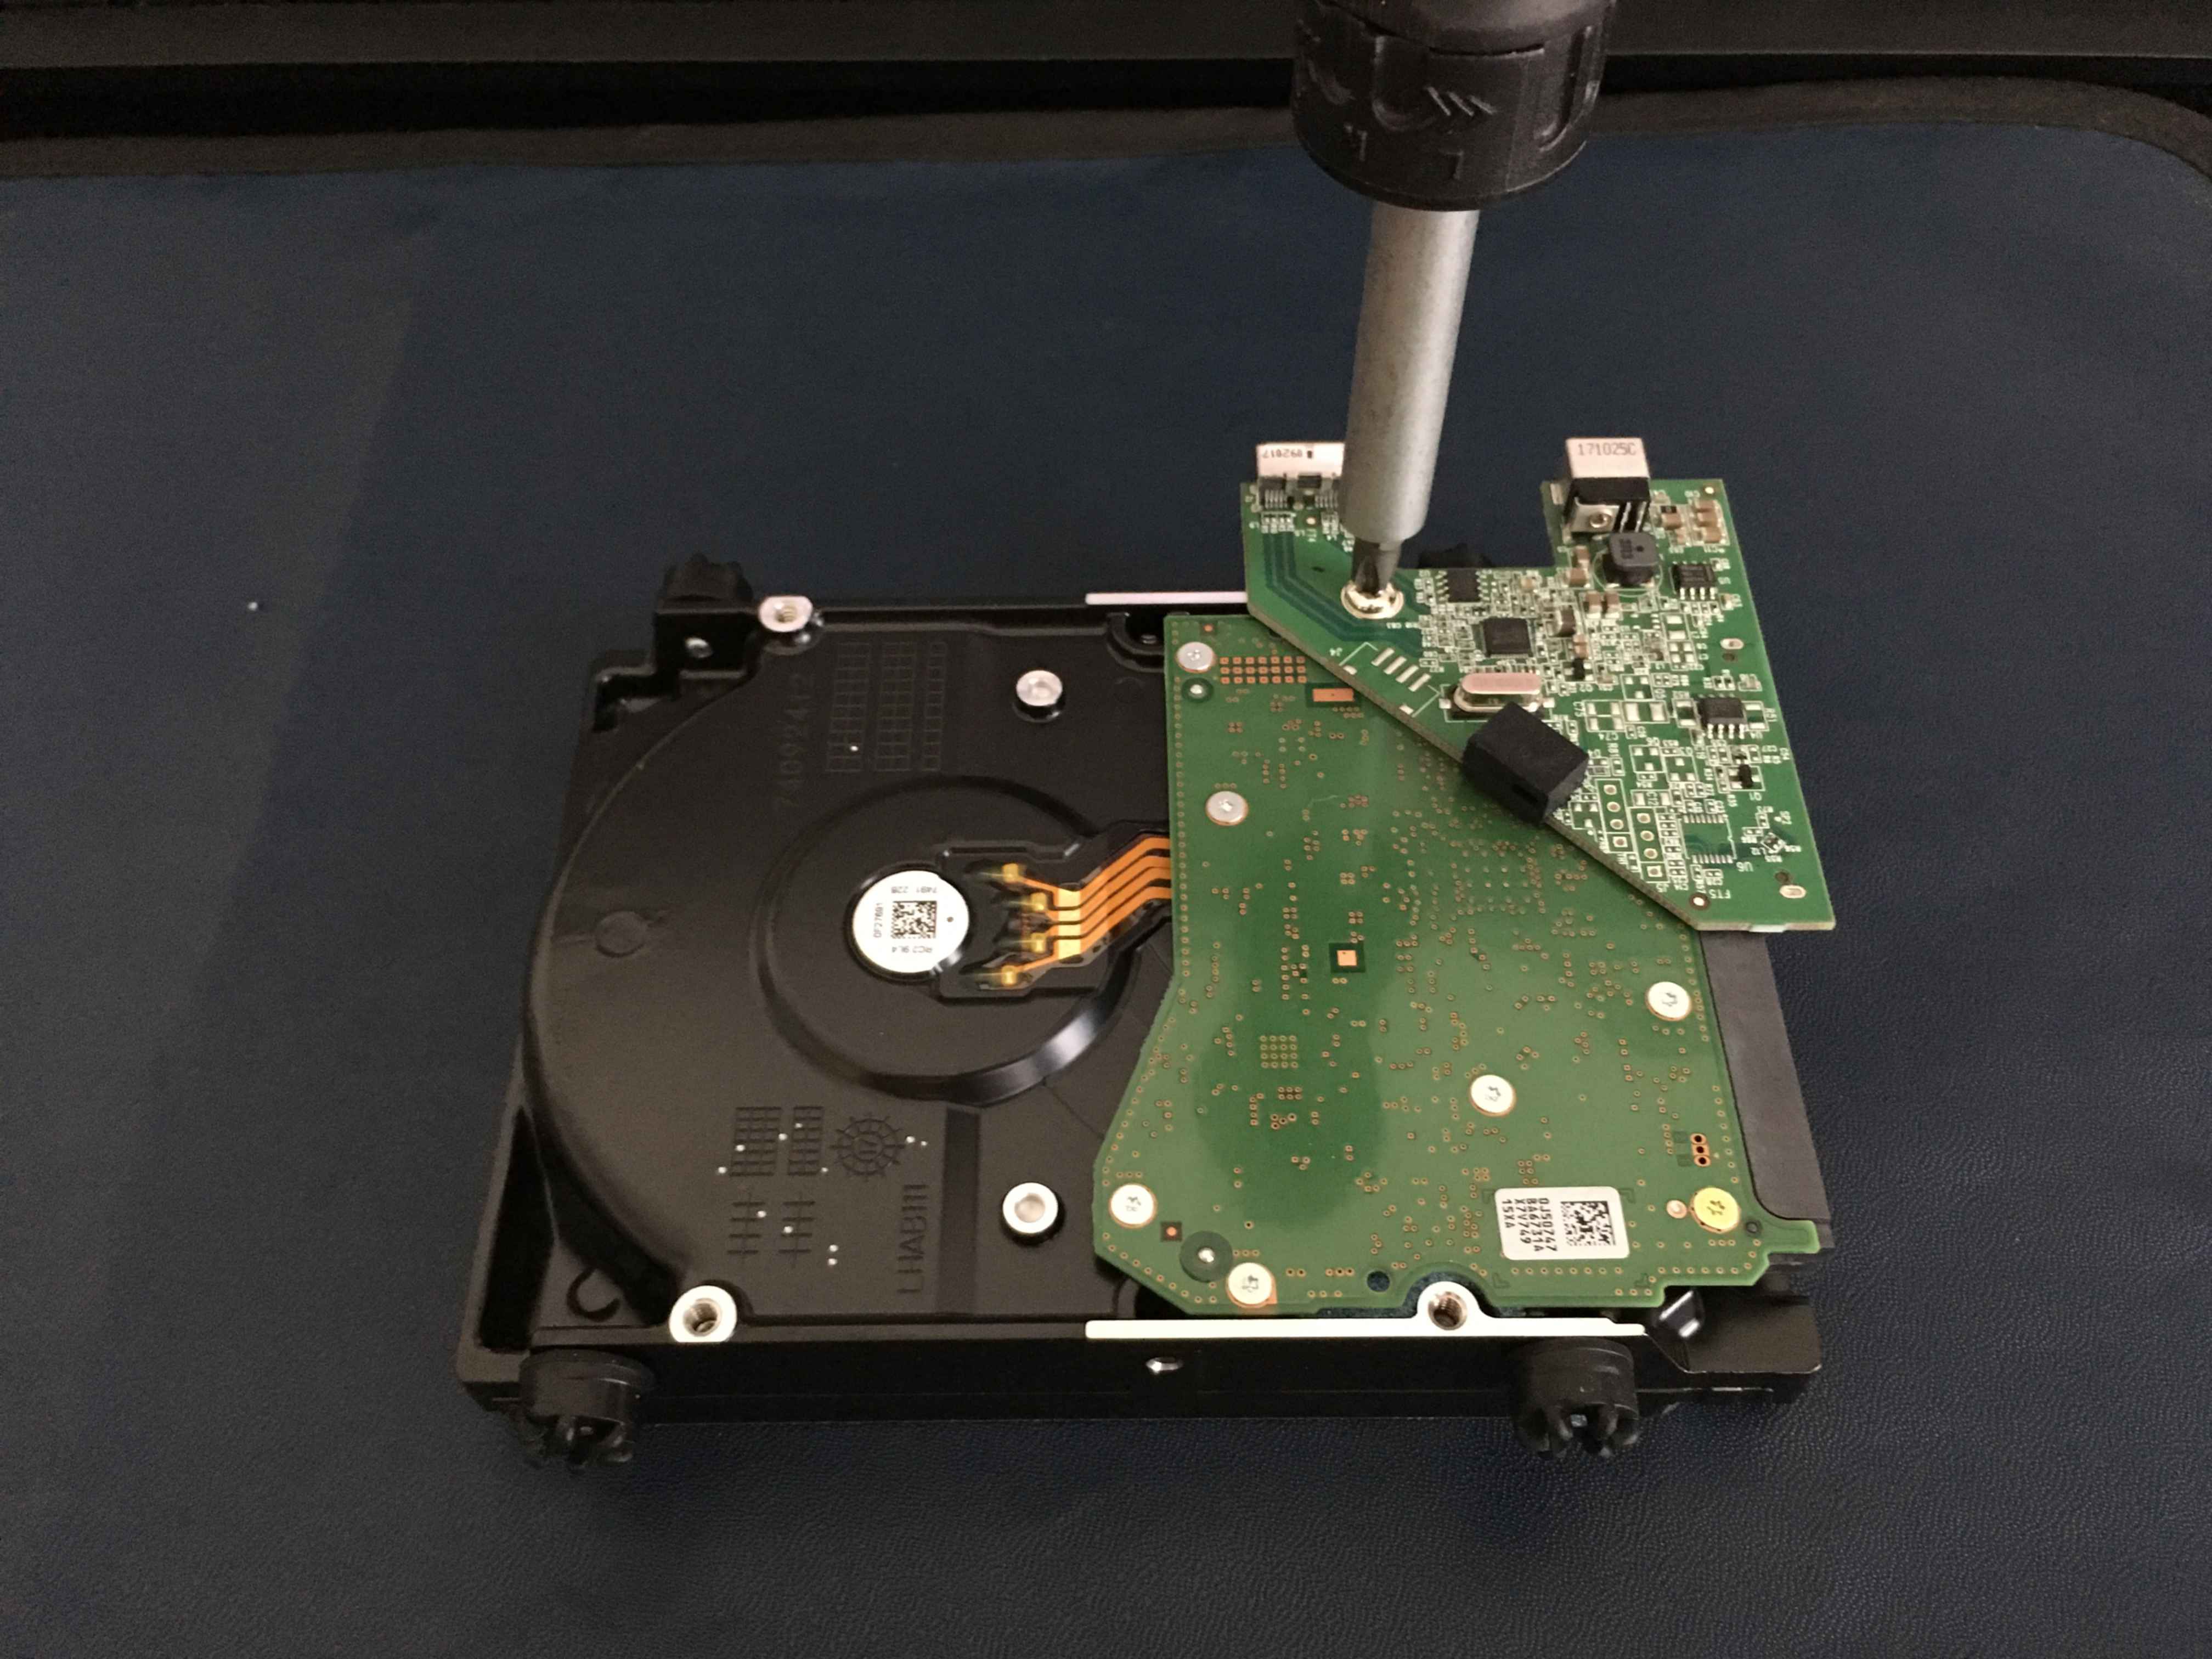
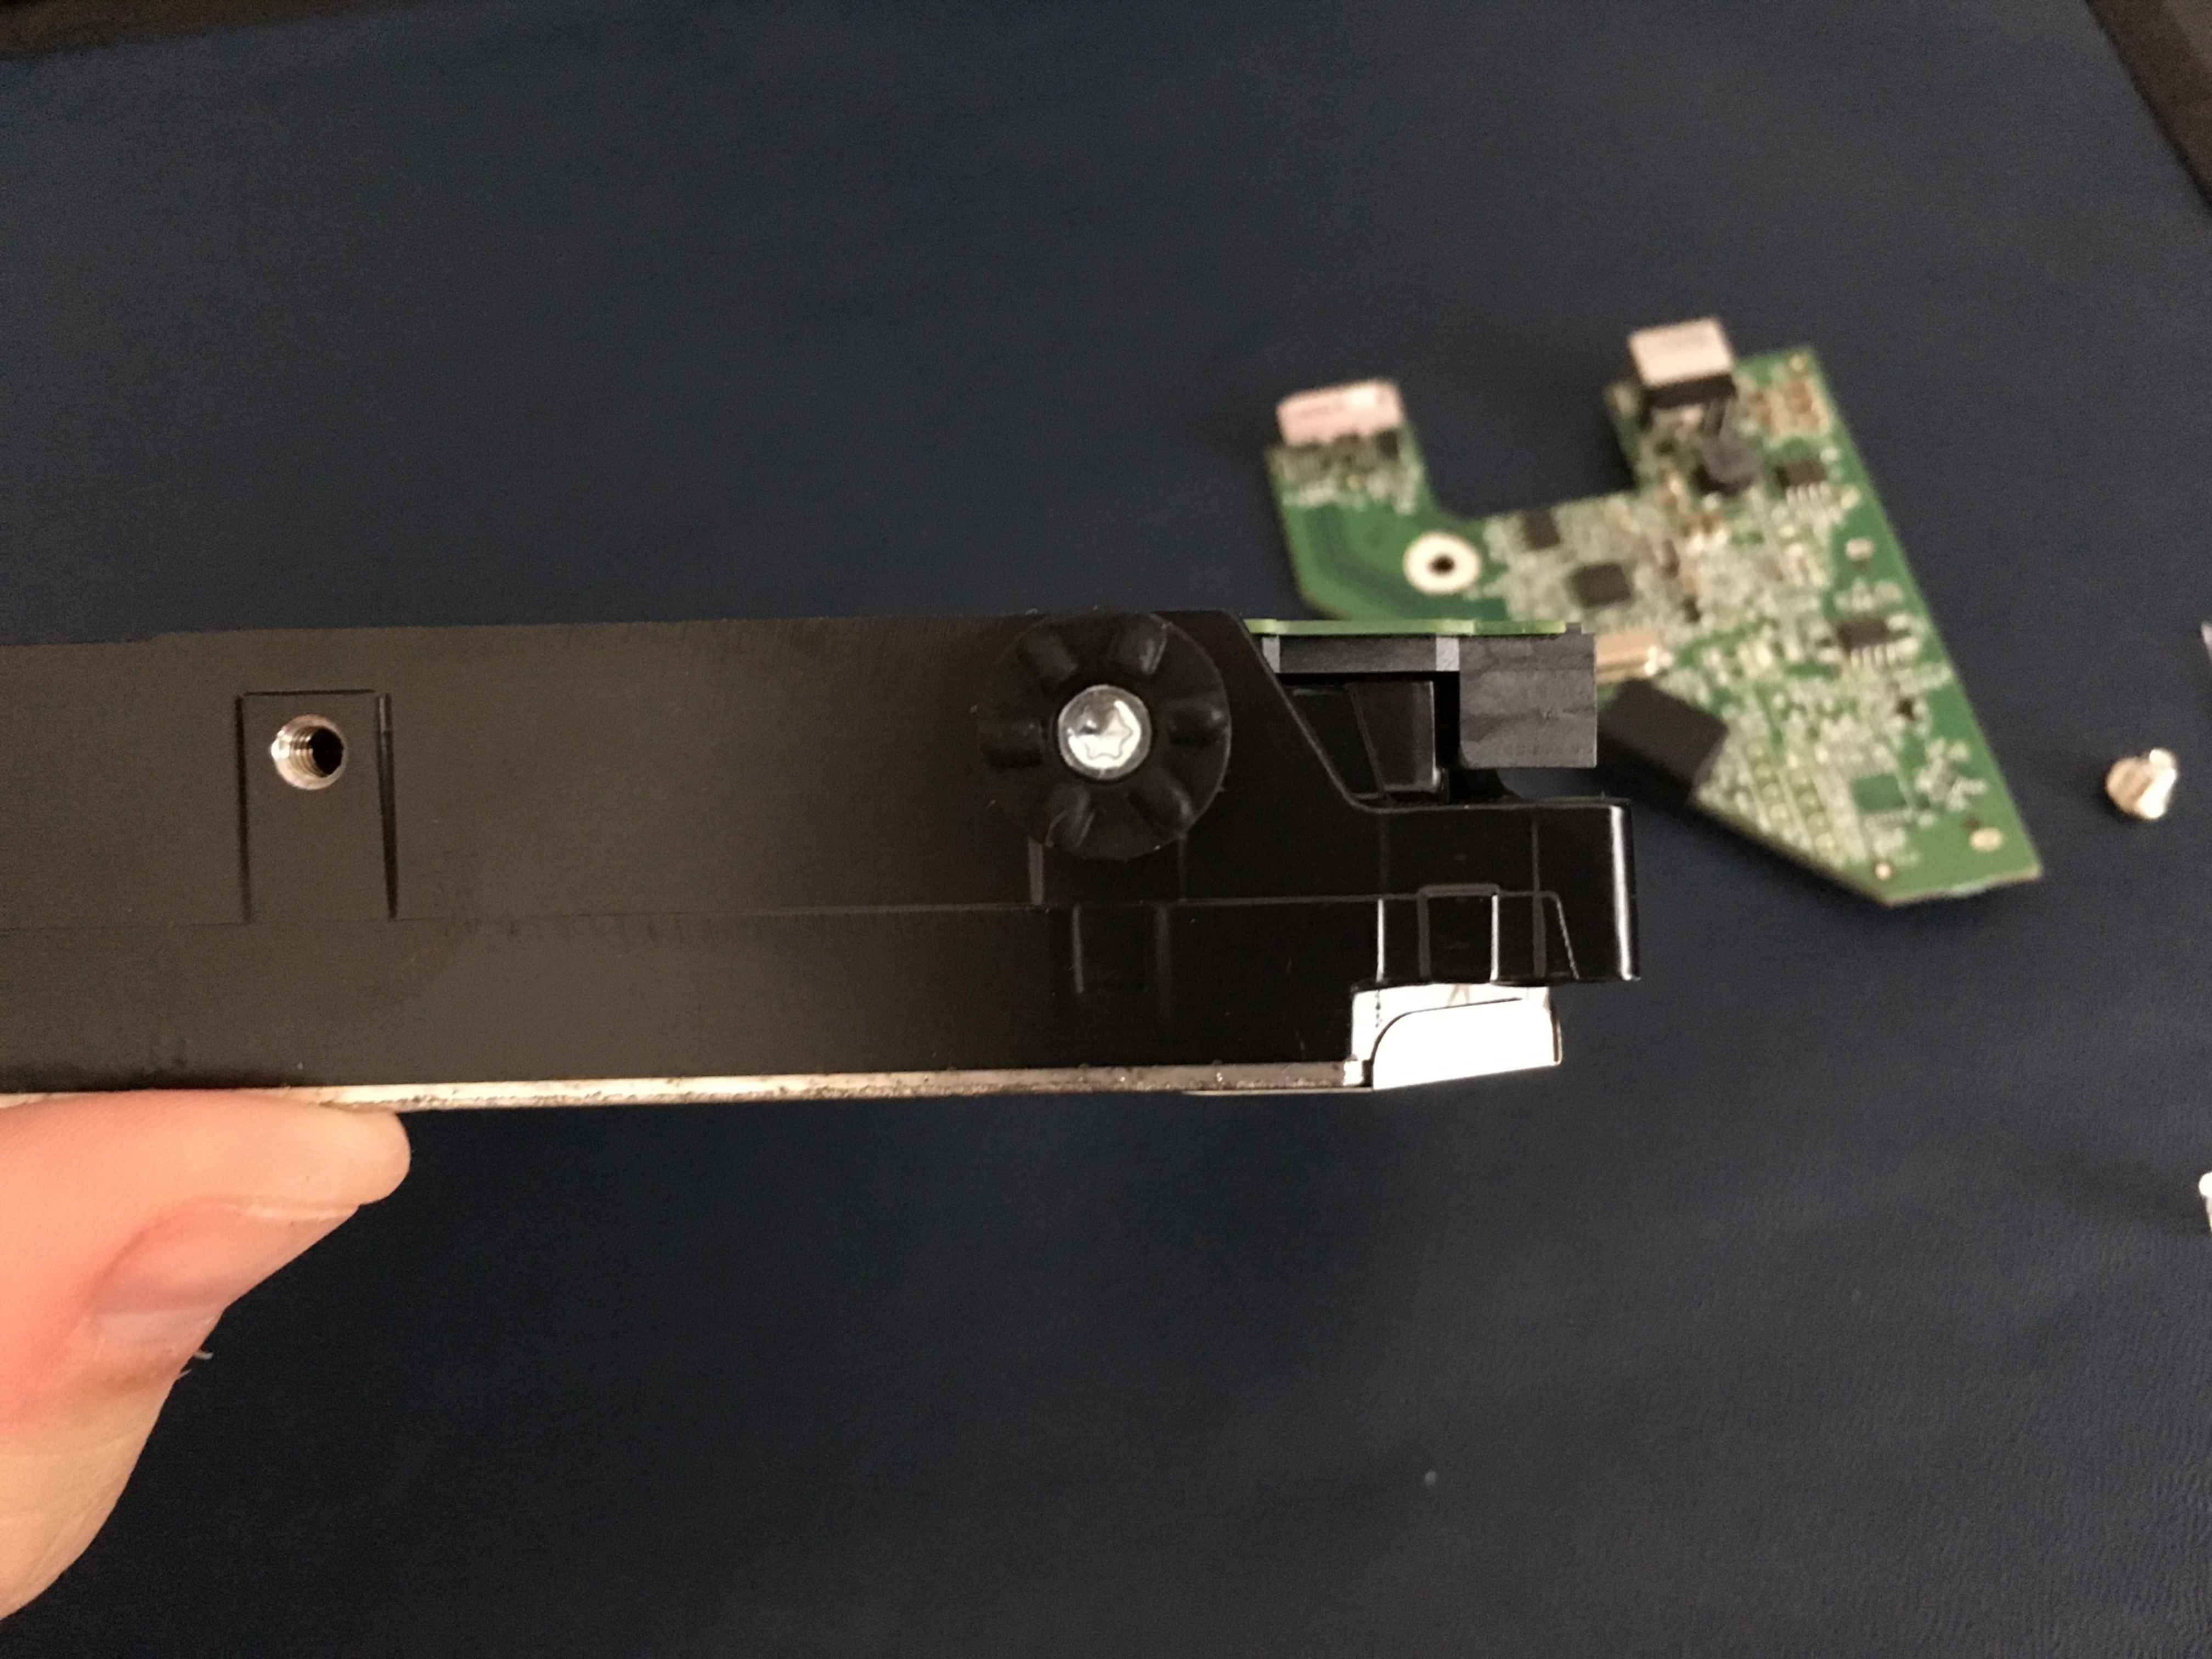
To remove the USB and power interface, first rotate the transparent plastic rod and then pull forwards to remove it.
Undo the cross-head screw holding the interface to the drive.
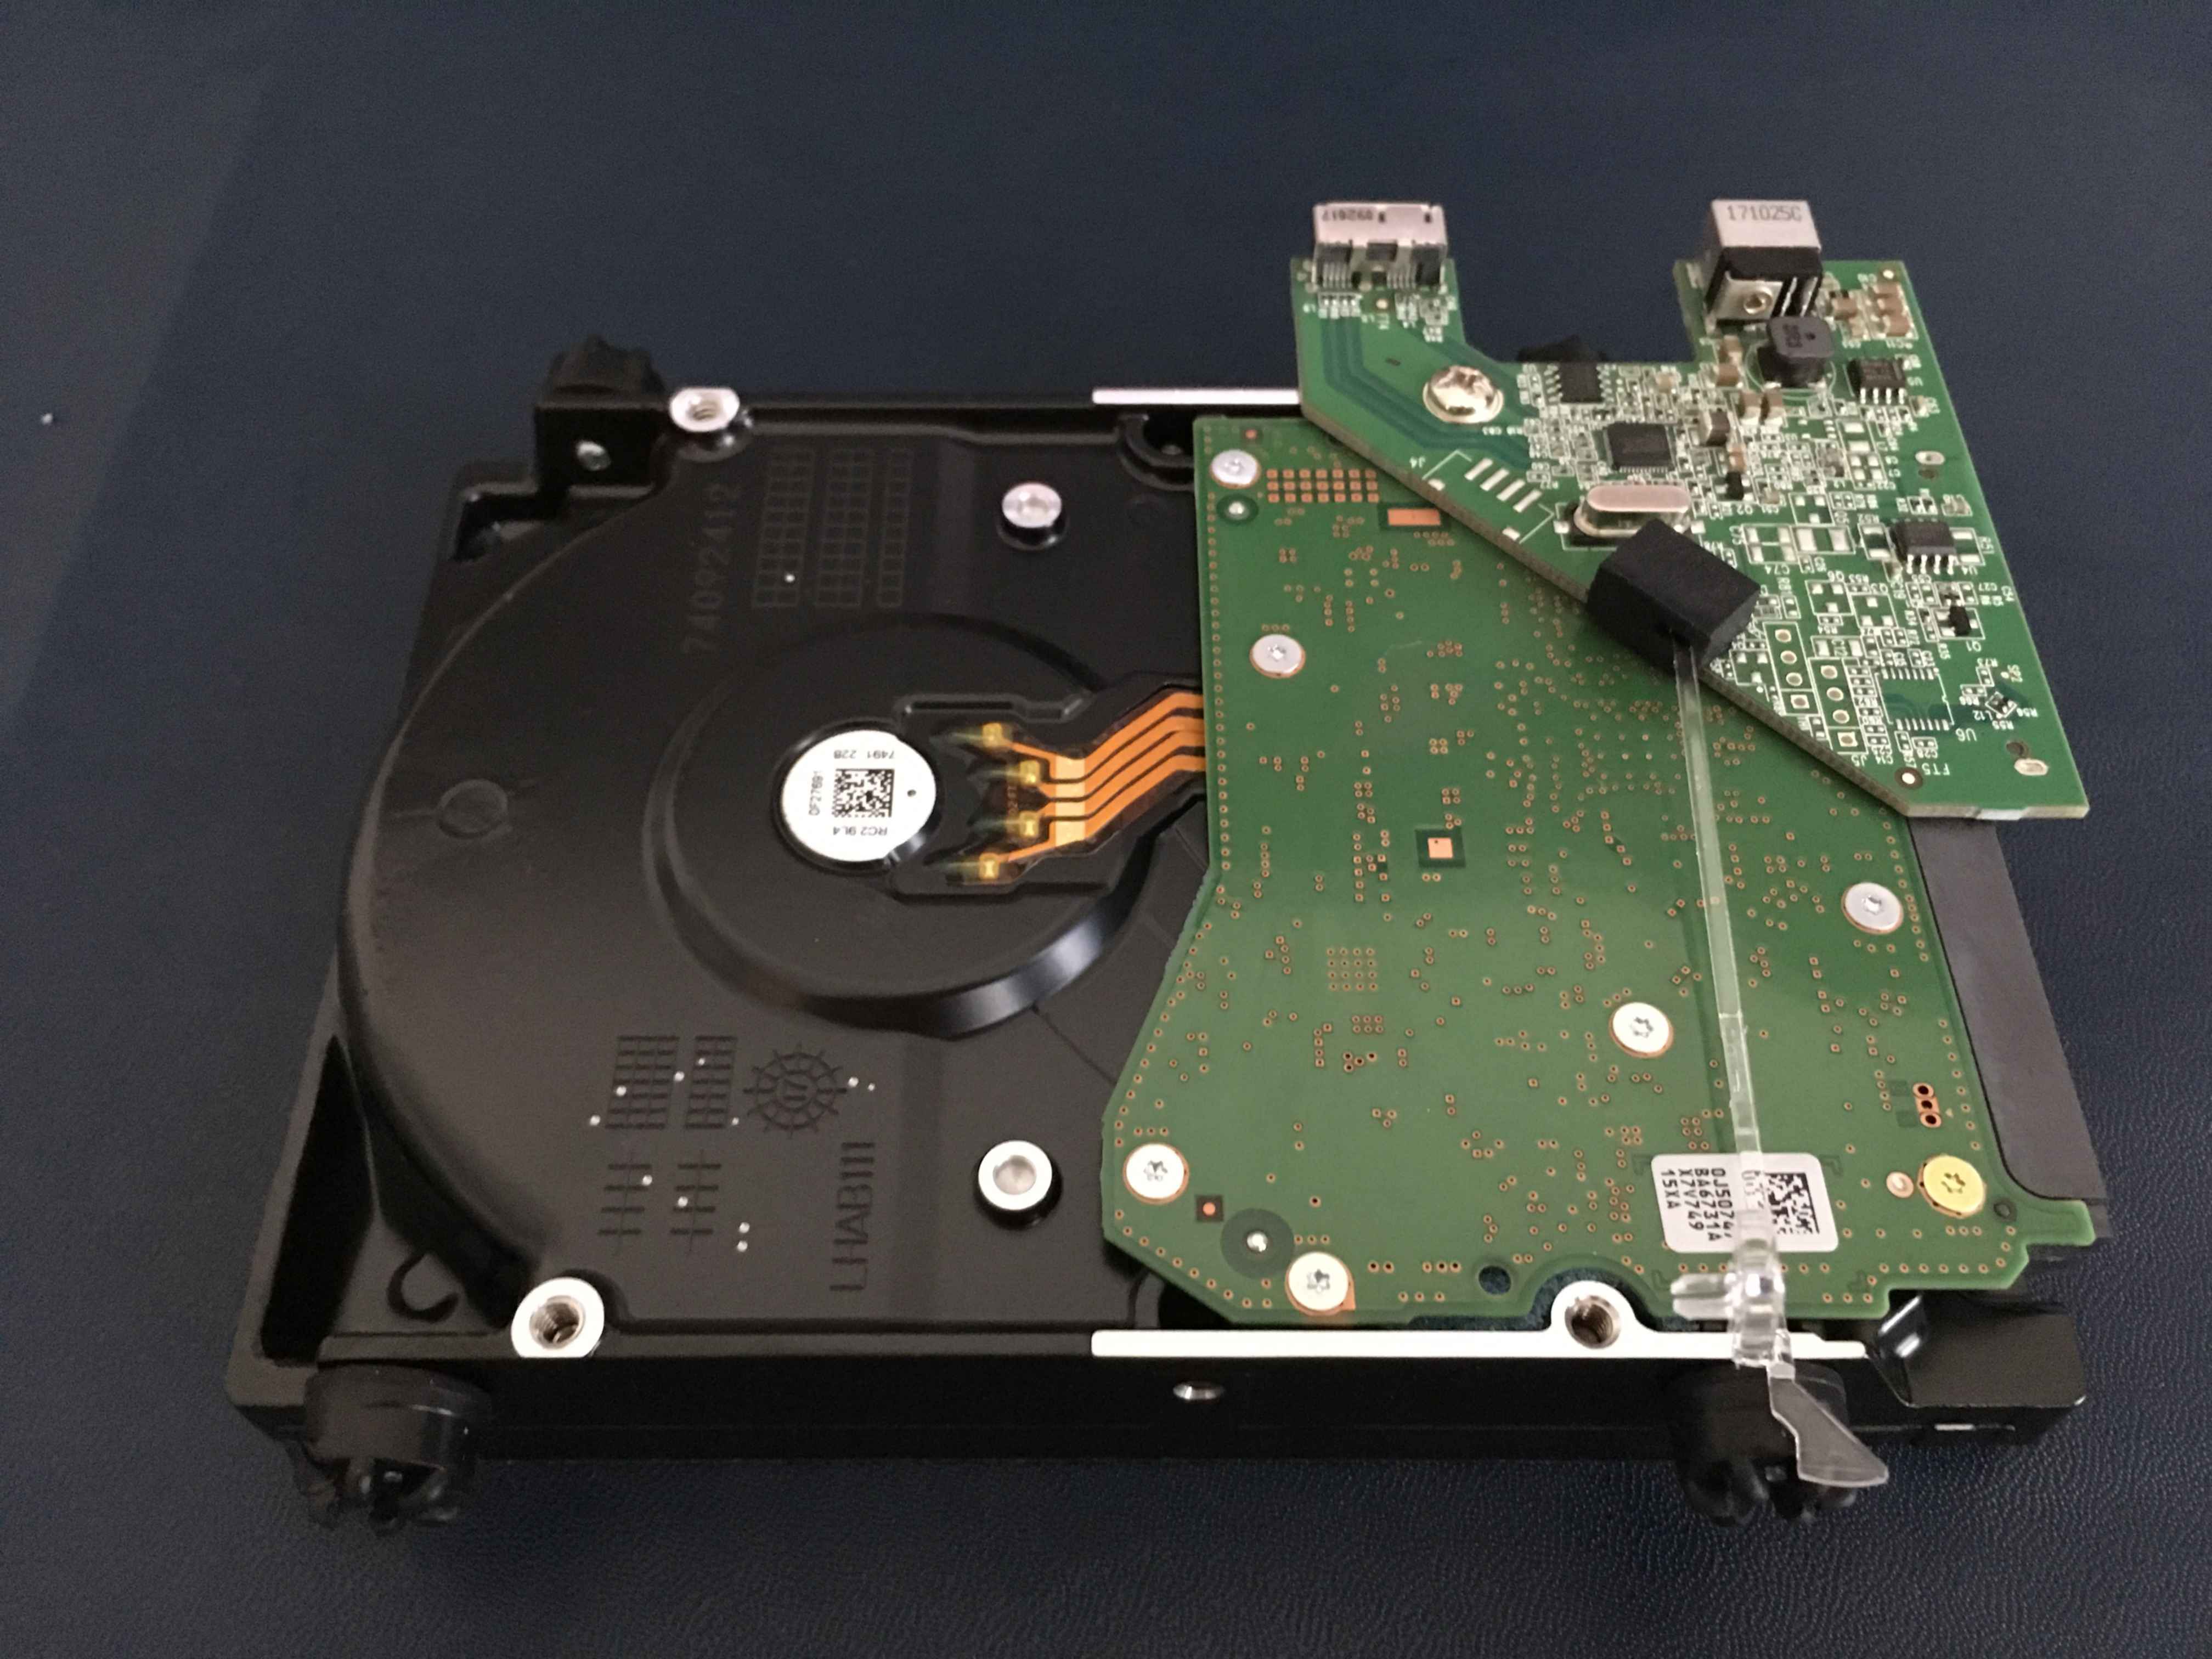
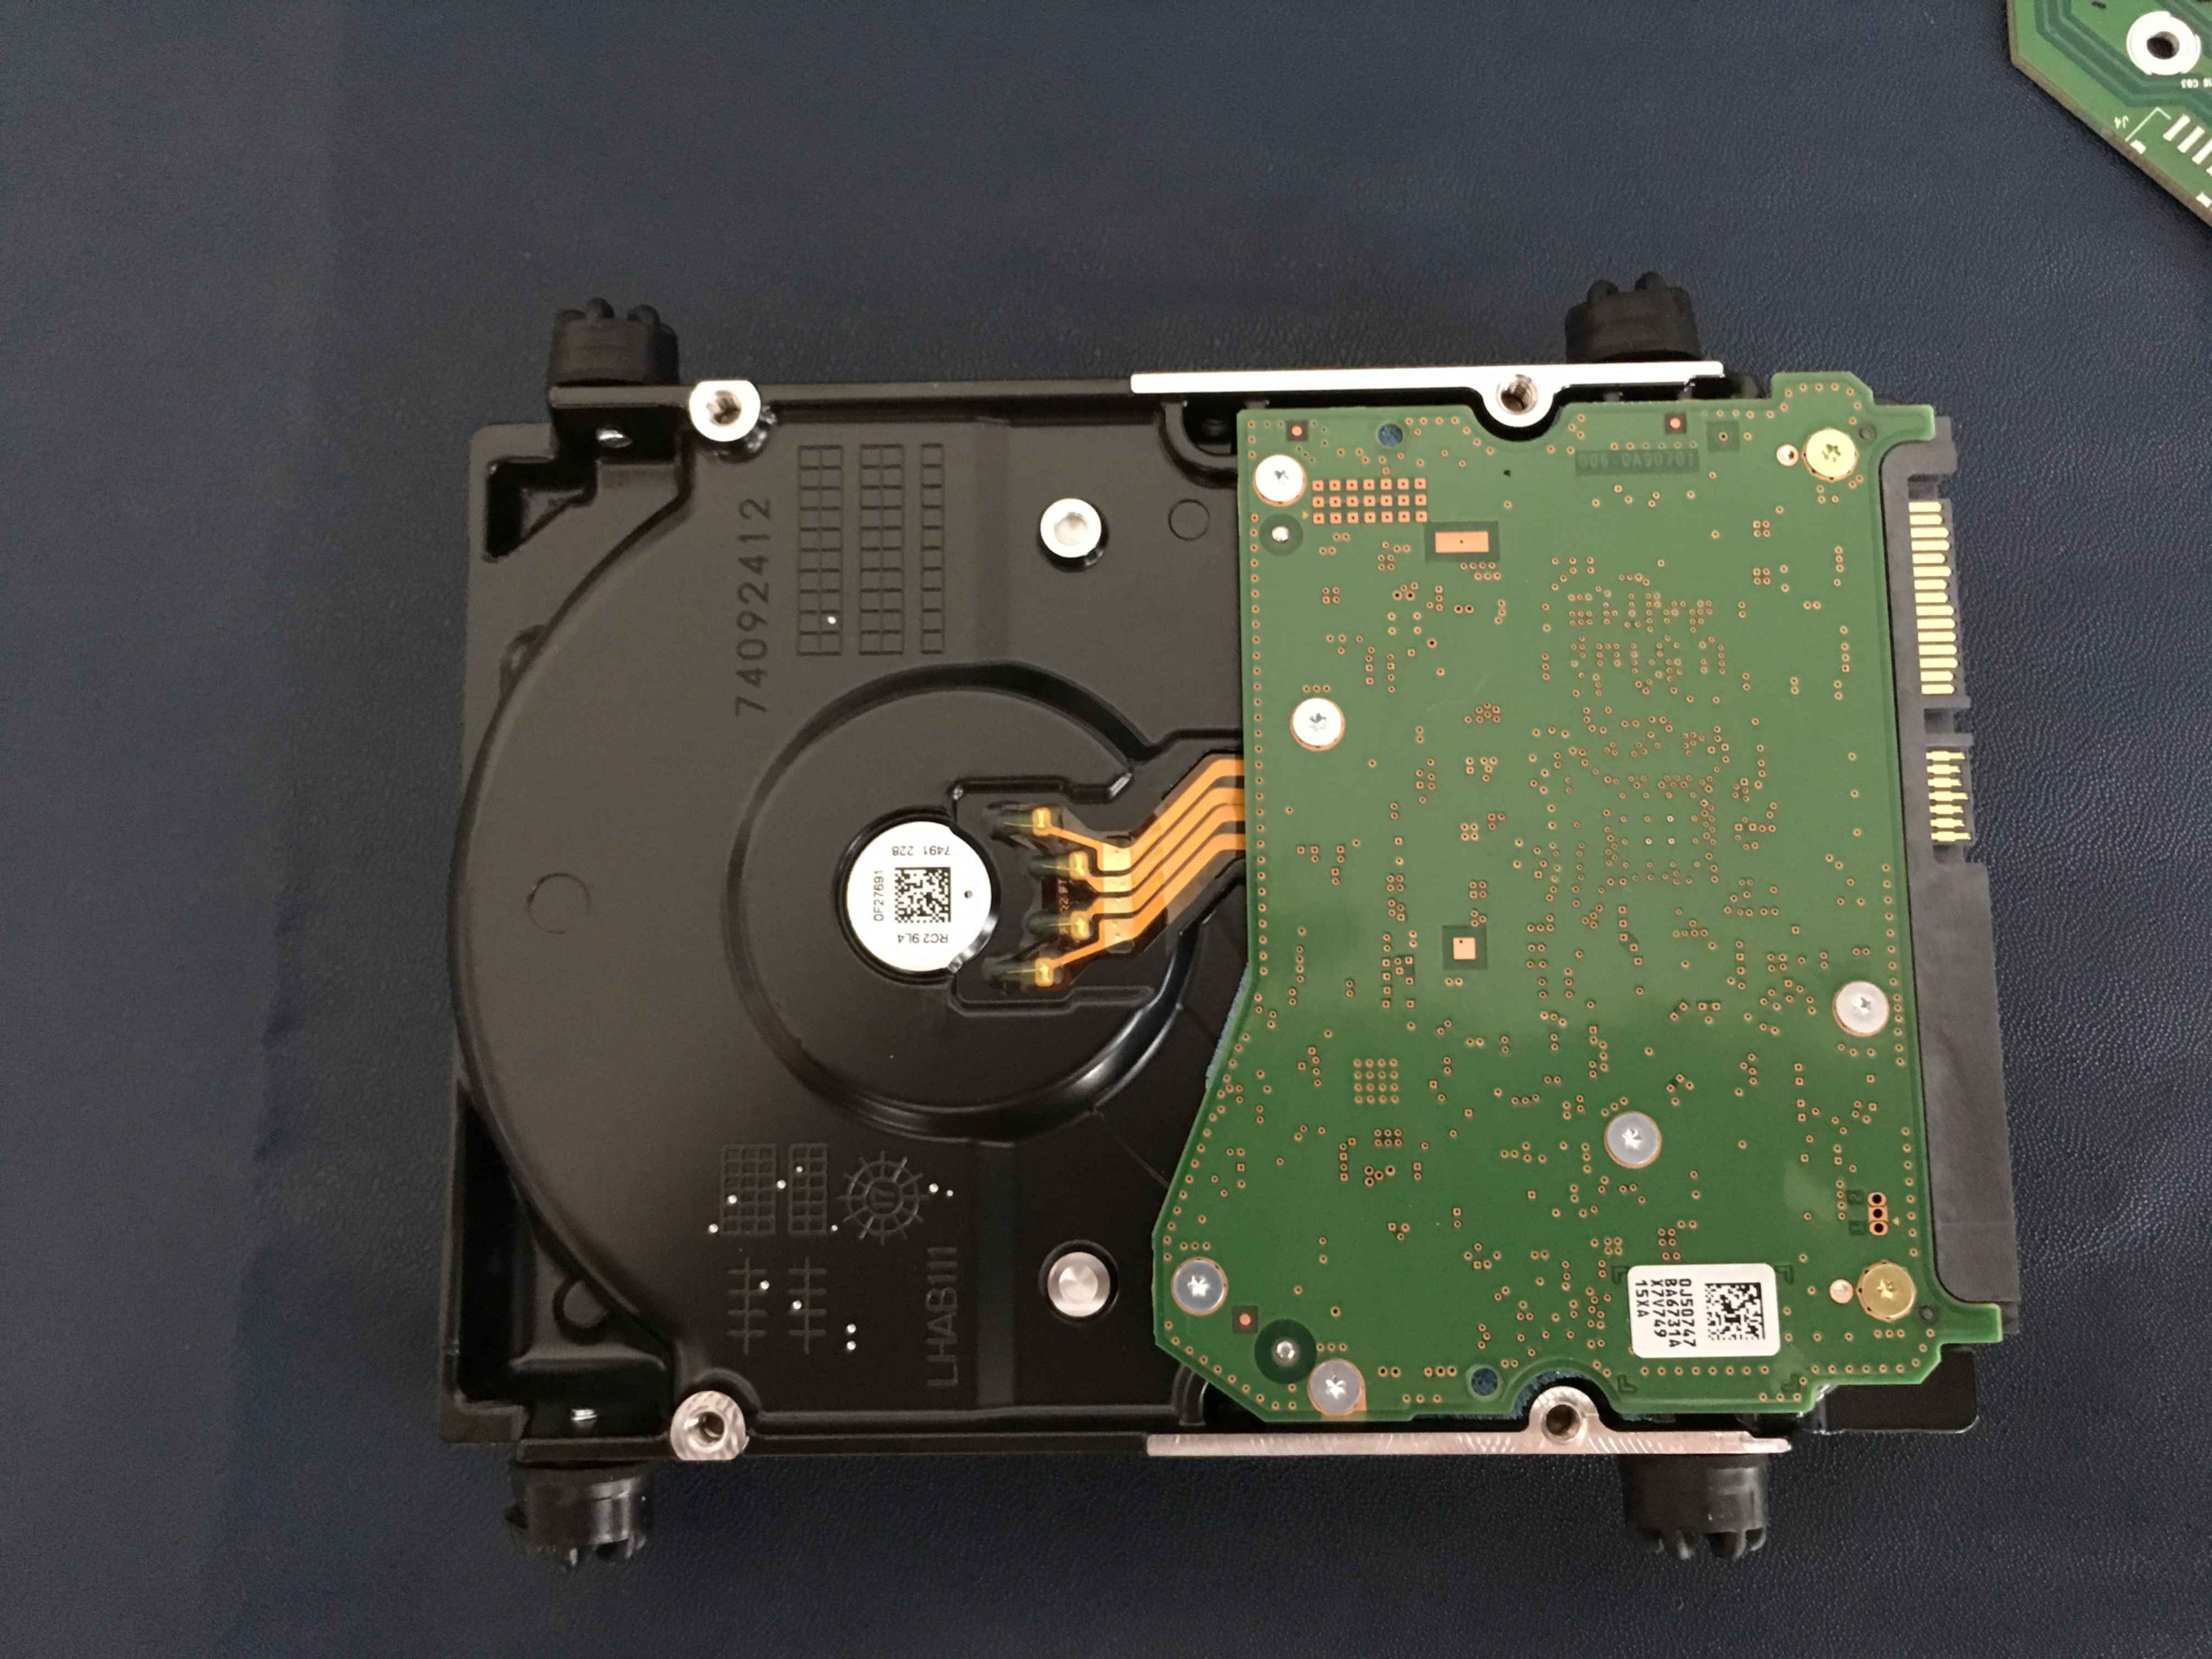
The USB interface is now only held on by the SATA interface and power, so slide it away from the drive.
The only remaining step is to remove the rubber bumpers, which are held in place by Torx T10 screws.
Hurrah, the drive is ready to use!